Dreaming of fresh, homegrown herbs and vegetables while enjoying the carefree lifestyle of camping? Forget the back-breaking toil of traditional gardening! This article explores the exciting world of effortless camper gardening, combining the convenience of grow bags with the magic of an automated watering system. Imagine waking up to vibrant, thriving plants without the daily chore of watering, even while you're off exploring the great outdoors. This setup allows for flexible planting, easy portability, and minimal maintenance – perfect for the nomadic gardener.
Grow bags offer a lightweight, portable solution for cultivating your favorite plants in any location, while automated watering ensures consistent hydration, regardless of your camping schedule. This eliminates the worry of wilting vegetables and ensures a bountiful harvest. Ready to build your own effortless camper garden? Let's dive into the step-by-step guide to creating your personalized, self-watering oasis on wheels.
Preparation and Safety Guidelines
- Greenhouse Megastore Trays
- Grow Bags
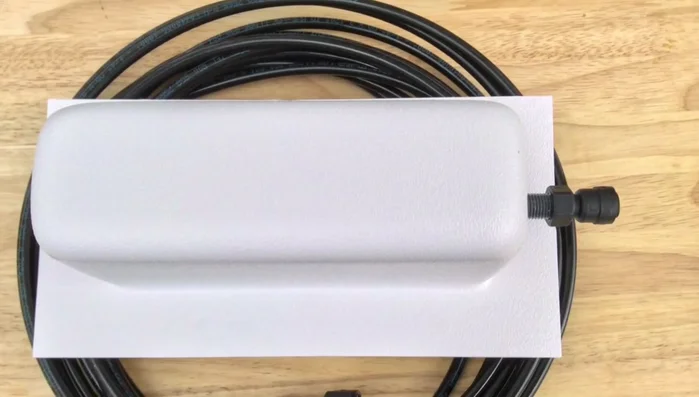
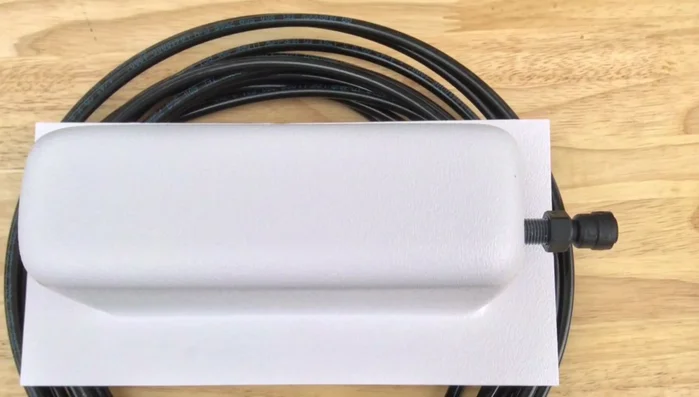
- Float Assembly with Hose
- Pea Gravel
- Always ensure your automated watering system is properly installed and functioning correctly to prevent overwatering or water damage to your plants and surrounding areas. Check regularly for leaks and malfunctions.
- Use grow bags specifically designed for outdoor use and appropriate for the climate. Choose bags with adequate drainage to avoid root rot.
- Be mindful of the weight of the grow bags when full of water and soil. Place them on a stable surface and consider the load bearing capacity of any shelving or structures you use.
Step-by-Step Instructions
Gather Materials
- Acquire trays from Greenhouse Megastore (link provided in video description).
- Obtain grow bags (link provided).

Gather Materials Prepare Grow Bags
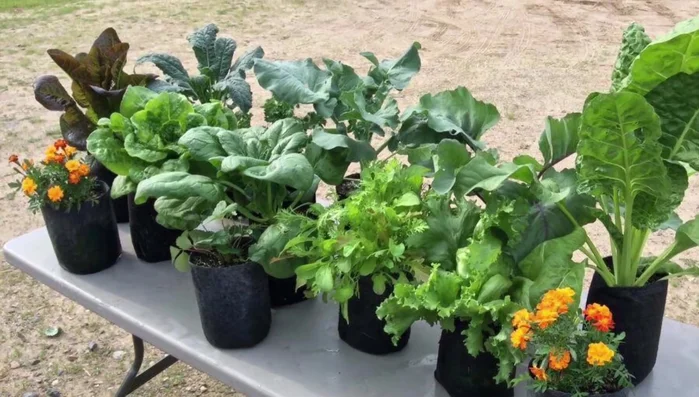
- Fill grow bags with potting mix and desired plants (lettuce, tomatoes, etc.).
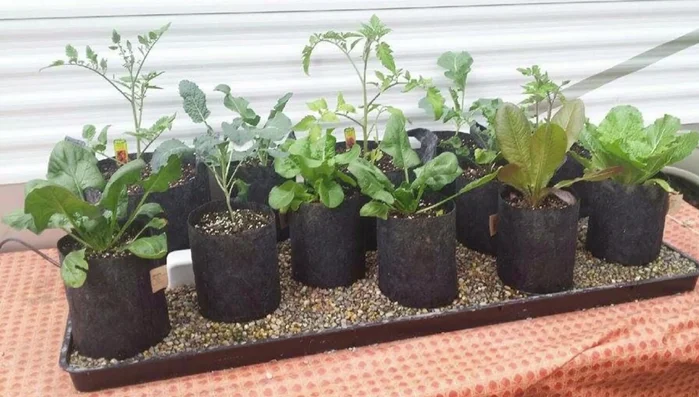
Prepare Grow Bags Arrange Grow Bags in Tray
- Place grow bags inside the tray. Ensure enough space for the float assembly.
Arrange Grow Bags in Tray Add Drainage and Install Float Assembly
- Add pea gravel to the tray, covering the bottom and partially surrounding the grow bags. This helps with drainage and water distribution.
- Install the float assembly (links for different hose options provided).
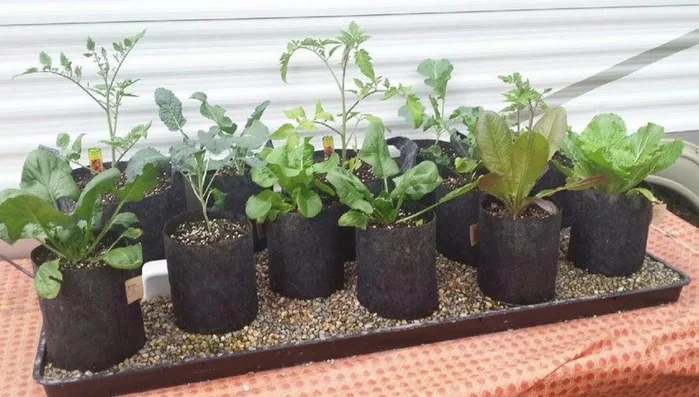
Add Drainage and Install Float Assembly Level, Fill, and Activate
- Level the tray and fill with water. The float assembly will maintain the water level automatically.
Level, Fill, and Activate


Read more: Grow Bountiful Potatoes in Containers: A Step-by-Step Guide
Tips
- Adjust the amount of pea gravel to control the water saturation level around the grow bags. Aim for about 1/2 to 3/4 inch saturation for 1-gallon bags, adjusting for larger bags.
- Choose a hose size (3/8 inch for rain barrel hookup or 1/4 inch for a more concealed setup).
- This method is ideal for small patios or limited spaces, offering a neat and efficient gardening solution compared to other methods like kiddie pools.