Raspberries and blackberries – the jewels of the summer garden – offer a burst of flavour unmatched by store-bought varieties. However, achieving a bountiful harvest often requires more than just planting the bushes; proper support is key to maximizing yield and preventing damaged fruit. Untamed canes sprawling across the ground lead to rotting berries, reduced sunlight penetration, and a frustratingly low harvest. This is where a DIY berry trellis comes in, providing a simple yet effective solution for keeping your berry plants healthy and productive. Forget expensive pre-made structures; building your own trellis is surprisingly straightforward and allows for customization to fit your specific garden space and plant needs.
This simple guide will walk you through the process of constructing a sturdy and aesthetically pleasing trellis, perfect for supporting both raspberries and blackberries. We’ll cover everything from choosing the right materials to the optimal installation techniques, ensuring a robust support system for years of abundant harvests. Ready to get started? Let's delve into the step-by-step instructions and build your own berry trellis today!
Preparation and Safety Guidelines
- 4x4 posts (8 feet)
- 2x4s (two feet)
- Power planter
- Shovel
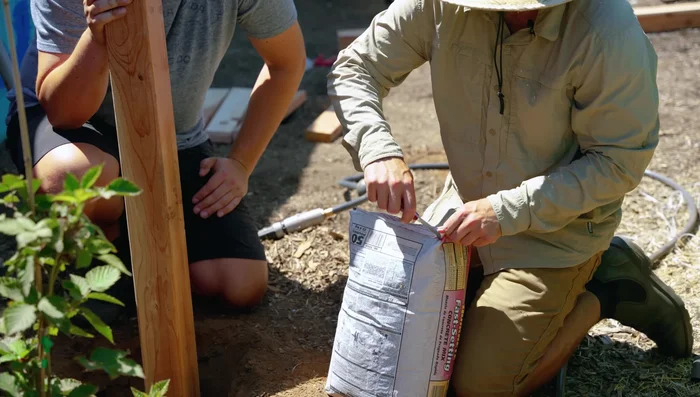
- Quikrete (fast-setting concrete)
- Drill
- T30 screws
- Eye hooks
- Washers
- Lock washers
- Nuts
- Wire anchors
- 12 gauge galvanized wire
- Wire cutters
- Tape (optional)
- Always wear gloves when handling brambles. Their thorns can cause painful scratches and infections.
- Use sturdy materials for your trellis to support the weight of mature berry plants. A weak structure could collapse under the weight of the fruit.
- Position your trellis to receive adequate sunlight (at least 6-8 hours daily). Insufficient sunlight will reduce fruit production.
Step-by-Step Instructions
Prepare Materials and Dig Post Holes
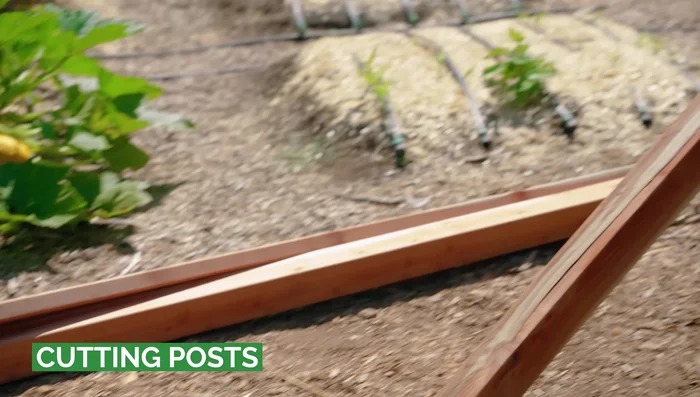
- Cut 4x4 posts and 2x4s to size. Posts should be approximately 7.5 feet long, and 2x4s should be 2 feet each. You will need four 2x4s.
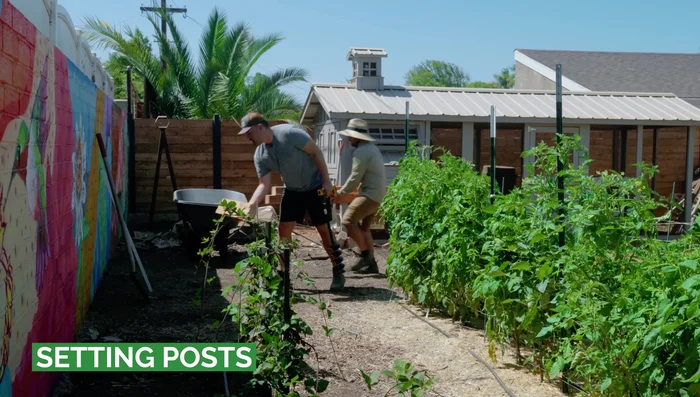
- Dig holes for the 4x4 posts using a power planter and shovel. Holes should be about 1.5 to 2 feet deep.

Prepare Materials and Dig Post Holes Set and Secure Posts
- Set the 4x4 posts in the holes, ensuring they are level and roughly the same height. Secure them with fast-setting concrete.
- Allow the concrete to set for approximately 30 minutes.
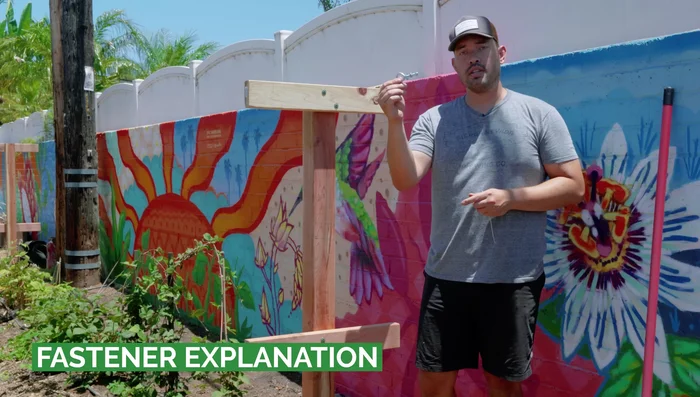
Set and Secure Posts Attach Cross Beams
- Attach the 2x4 cross beams to the outside edges of the 4x4 posts, ensuring they are centered and level. Use T30 screws and pre-drill pilot holes.
Install Support Wires
- Install eye hooks on one post and wire anchors on the other post. The anchors should be placed so the pointed end faces inward.
- Thread the galvanized wire through the eye hook, around the post, and then through the wire anchor on the opposite post. Tighten securely. Repeat for additional wire levels as needed.
Install Support Wires

Tips
- Use a level to ensure posts and cross beams are level for a neat appearance and structural integrity.
- Pre-drilling pilot holes for the T30 screws will prevent wood splitting.
- The wire anchor system allows for easy wire replacement or adjustment if needed.
- Allow extra slack when threading the wire to make adjustments easier, remembering that the anchors are one-way.
- For floricane varieties (fruiting on the second year), allow some canes to fall to the ground for increased fruit production.