Tired of forgetting which herbs are which in your flourishing garden? Or perhaps you're simply looking for a relaxing and rewarding craft project that yields beautiful, personalized results? Then look no further! Creating your own DIY clay plant markers is a fantastic way to add a touch of rustic charm to your garden while simultaneously indulging in a therapeutic crafting experience. The tactile nature of working with clay, combined with the satisfaction of creating something unique and useful, makes this a perfect activity for a quiet afternoon or a fun weekend project.
From choosing the right clay to adding your personal touch with paints and embellishments, the possibilities are endless. This simple craft requires minimal materials and offers a fantastic opportunity to unleash your creativity. Ready to get your hands dirty and create beautiful, personalized plant markers? Let's dive into the step-by-step process below!
Preparation and Safety Guidelines
- Air-dry clay
- Rolling pin
- Chopsticks (or wooden slats)
- Knife or cutter
- Water
- Sponge
- Pen
- Always work in a well-ventilated area. Clay dust can be irritating to the lungs.
- Keep clay and tools out of reach of children and pets.
- Ensure surfaces are protected from clay spills; clay can stain.
Step-by-Step Instructions
Gather Materials
- air-dry clay, rolling pin, chopsticks or wooden slats, knife or cutter, water, sponge, and pen.

Gather Materials Prepare the Clay
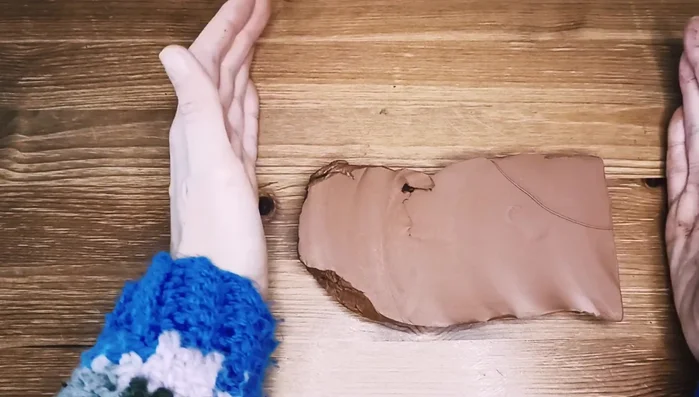
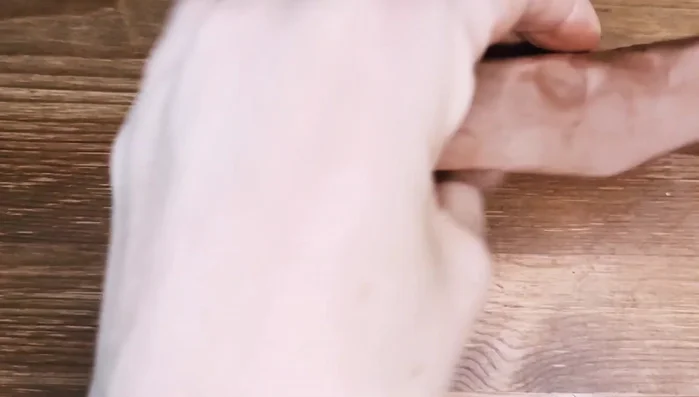
- Knead the clay to remove air bubbles and make it compact.
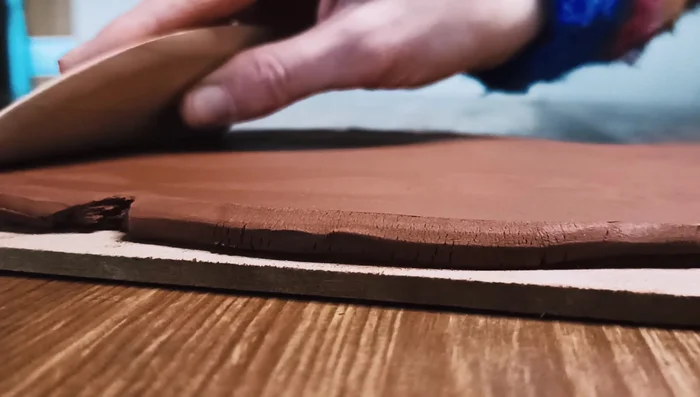
- Roll out the clay evenly to a thickness of approximately 5mm using the rolling pin. Use chopsticks (or wooden slats) to ensure consistent thickness.
- Smooth out any inconsistencies on the surface of the rolled clay.
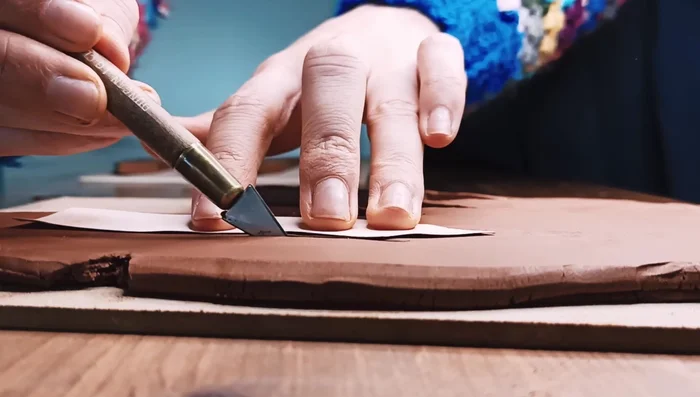
Prepare the Clay Cut and Shape Plant Tags
- Cut out the plant tag shapes from the rolled clay using your chosen pattern.
- Smooth the edges and surfaces of the cut-out clay pieces using water, your fingers, or a sponge. Remove any irregularities.
Cut and Shape Plant Tags Dry the Clay Tags
- Let the clay plant tags air dry completely.
Bake the Clay Tags
- Once dry, bake the plant tags according to the clay's instructions (this step is mentioned but details aren't provided in the transcript).
Bake the Clay Tags Decorate Plant Tags
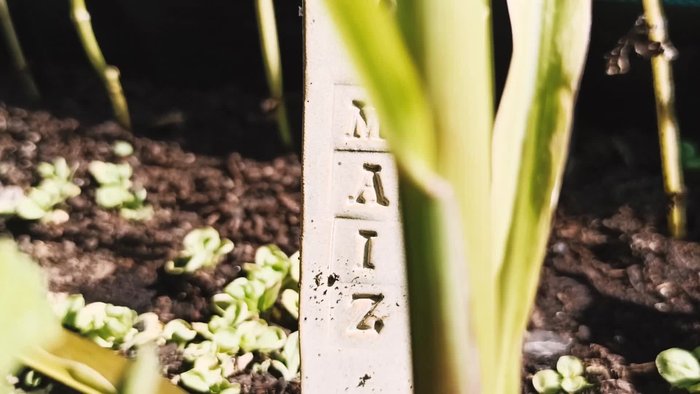
- Write the plant names onto the tags.
Decorate Plant Tags

Tips
- Take your time and approach the process mindfully for a relaxing experience.
- Reuse clay scraps by kneading them together to remove air bubbles and rolling them out again.