Transform your outdoor space with the rustic charm and modern appeal of a DIY concrete planter! Concrete planters offer a durable and versatile solution for showcasing your favorite plants, adding a touch of unique artistry to any garden, patio, or balcony. Whether you're a seasoned DIY enthusiast or a complete beginner, creating your own concrete planter is a rewarding project that allows for complete creative freedom in size, shape, and design. The cost-effectiveness adds another compelling reason to embark on this project, saving you money while expressing your personal style.
This guide provides a detailed, easy-to-follow approach, perfect for crafting your dream concrete planter from start to finish. From choosing the right materials to achieving a professional-looking finish, we'll walk you through each step of the process, ensuring you create a stunning and long-lasting addition to your outdoor living area. Let's get started with our comprehensive step-by-step guide!
Preparation and Safety Guidelines
- Hard foam board
- Construction adhesive
- Sent paper
- Straws
- Oil
- Fiber concrete
- Knife
- Concrete sealer
- Always wear safety glasses and gloves when mixing and handling concrete. Concrete dust and splashes can irritate skin and eyes.
- Work in a well-ventilated area. Concrete mixing releases dust and fumes that can be harmful if inhaled.
- Use appropriate protective clothing to prevent concrete from staining your clothes. Concrete is very difficult to remove once it sets.
Step-by-Step Instructions
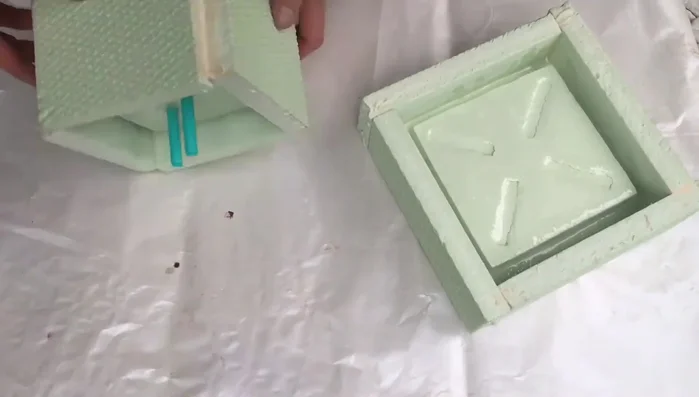
Prepare the Molds
- Prepare the foam board molds for the planter and saucer.

Prepare the Molds Assemble the Molds
- Assemble the foam molds using construction adhesive, ensuring no water leaks.
Assemble the Molds Prepare for Concrete Pour
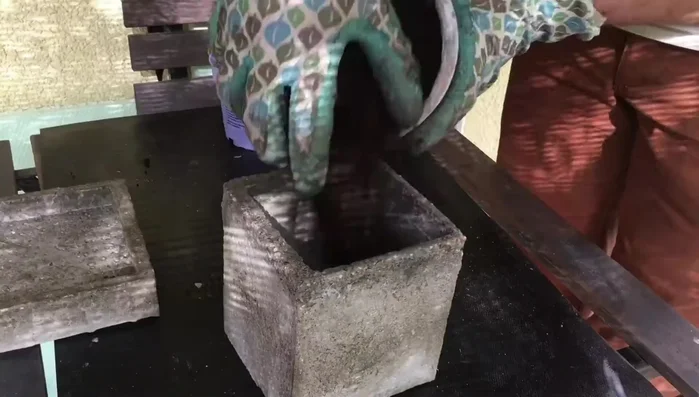
- Oil the molds evenly to prevent sticking.
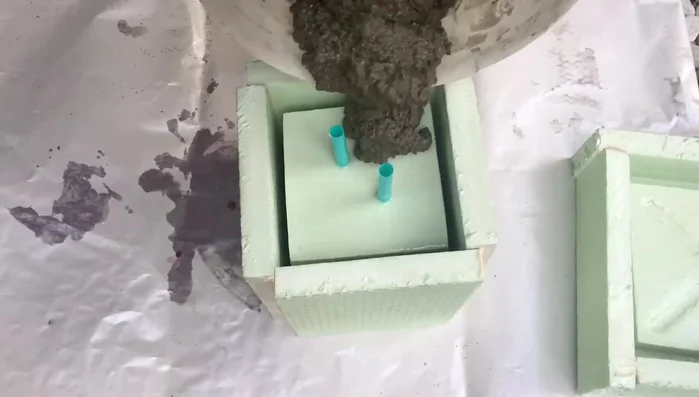
Prepare for Concrete Pour Pour and Set the Concrete
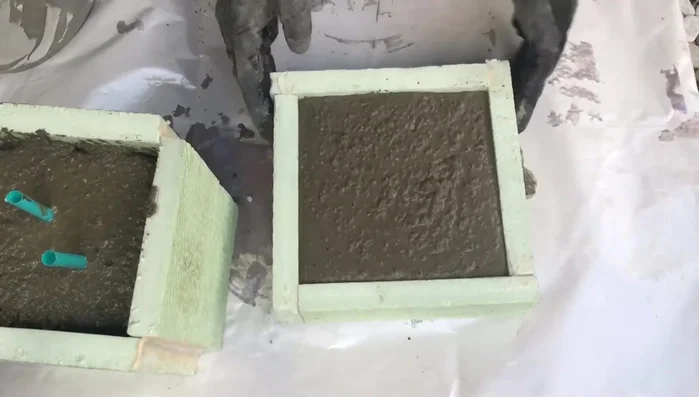
- Pour the fiber concrete into the molds, vibrating to remove air bubbles.
- Add support to hold the molds together while the concrete sets.
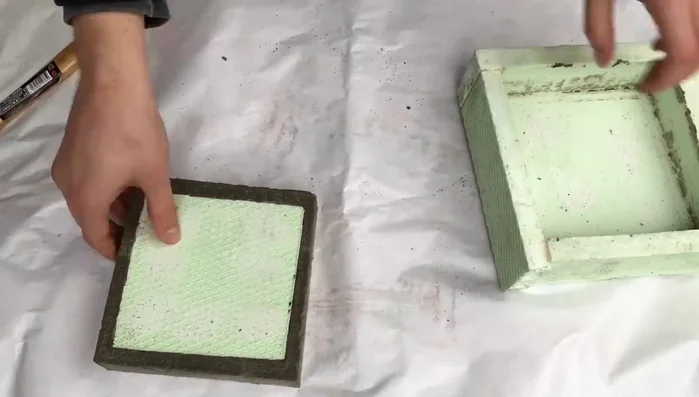
Pour and Set the Concrete Remove from Mold
- Remove the planter from the mold after it is fully cured.
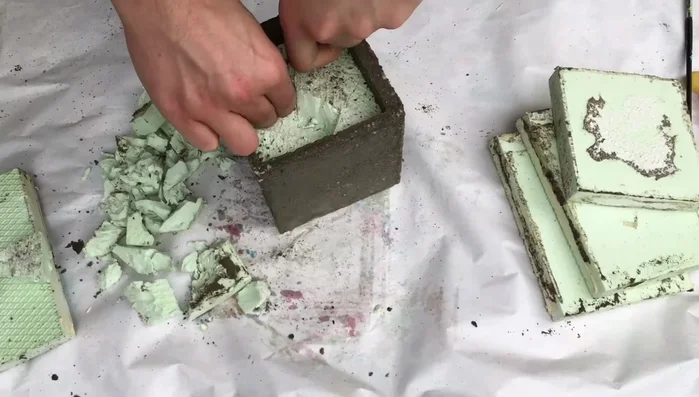
Remove from Mold Remove Foam and Clean Up
- Cut away the foam board.
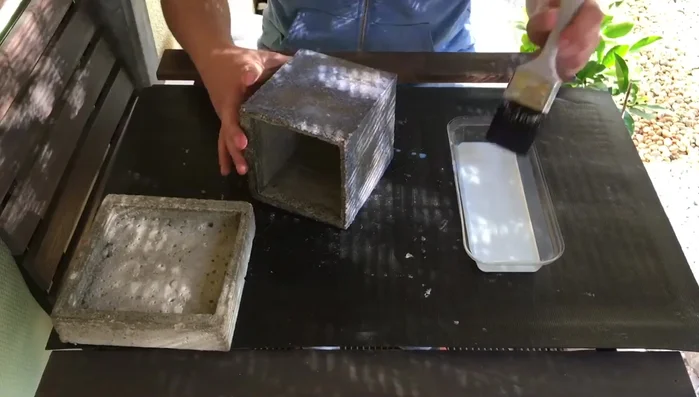
Remove Foam and Clean Up Seal and Finish
- Seal the concrete planter with a waterproof sealer.
- Add feet (optional).
Seal and Finish


Read more: Choosing the Right Saucer Size for Your Monster Plant Pots
Tips
- Use enough glue to prevent water leakage.
- Use straws to create drainage holes.
- Fully cure the concrete before removing from the mold to avoid damage.
- Use a concrete sealer suitable for contact with plants and soil.