Tired of generic, fading garden markers that lose their charm after a single season? Imagine vibrant, personalized plant labels that not only identify your herbs and flowers but also enhance the aesthetic of your garden. This is achievable with the power of sublimation, a remarkable technique that allows you to create stunning, long-lasting garden markers. Forget messy paint or easily-erased chalk; sublimation provides incredibly crisp, fade-resistant images directly onto durable materials, resulting in beautiful markers that will withstand the elements for years to come.
Sublimation offers a unique blend of creativity and practicality, allowing you to showcase your personal style in the garden. From whimsical illustrations to elegant calligraphy, the possibilities are endless. Ready to transform your garden and create unique, personalized markers? Let's dive into the step-by-step process and learn how to achieve breathtaking results with the sublimation method.
Safety Guidelines
- Always use a well-ventilated area when working with sublimation inks and heat presses. Inhaling sublimation ink fumes can be harmful.
- Ensure your sublimation blanks are specifically designed for sublimation printing. Using the wrong material will result in poor or no results.
- Preheat your heat press according to the manufacturer's instructions and use appropriate time and temperature settings for your chosen blank material and ink. Incorrect settings can damage your blanks or create uneven prints.
Methods: Canva Design & Sublimation
Tools Needed
- Sublimation printer
- Sublimation paper
- Sublimation ink
- Garden marker blanks
- Heat-resistant mat
- Heat-resistant tape
- Protective paper
- Heat-resistant gloves
- Lint roller
Step-by-Step Instructions
Canva Design Setup
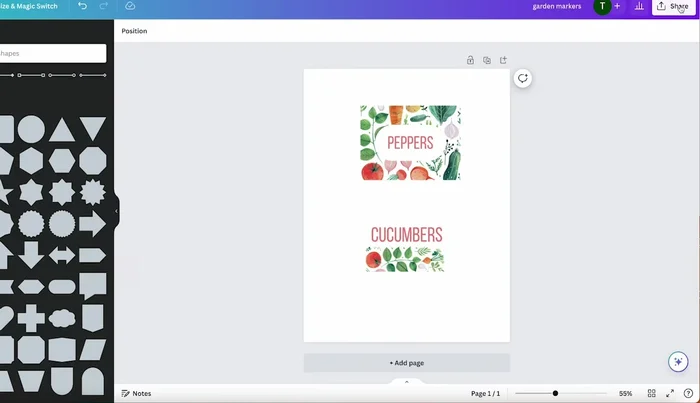
- Create a Canva design with custom size (8.5 x 11 inches) matching your sublimation paper.
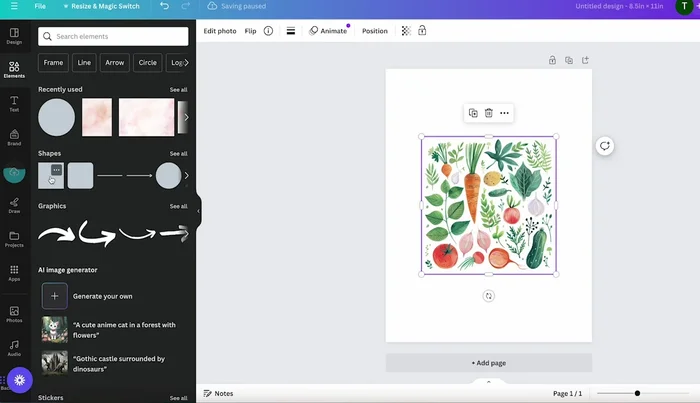
- Upload your garden background design.

Canva Design Setup Marker Design Creation
- Create an oversized square to match your marker blank, using the 'position' and 'advance' options to set width and height.
- Position and crop your garden design within the square to create your desired marker design.
Marker Design Creation Text and Design Refinement
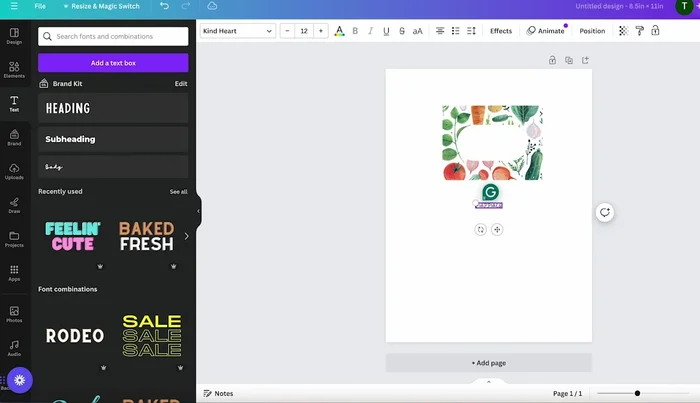
- Add a white shape (e.g., oval) for text.
- Add text (plant name) and customize font, size, and color to match the background.
Text and Design Refinement Print Design
- Download the design as a PDF and print it using your sublimation printer.
Print Design

Tips
- Use the rectangle as a guide to crop your image.
- Use the eye dropper tool in Canva to match text color to your design.
Methods: Cricut Design Space & Sublimation
Tools Needed
- Cricut Design Space
- Sublimation printer
- Sublimation paper
- Sublimation ink
- Garden marker blanks
- Heat-resistant mat
- Heat-resistant tape
- Protective paper
- Heat-resistant gloves
- Lint roller
Step-by-Step Instructions
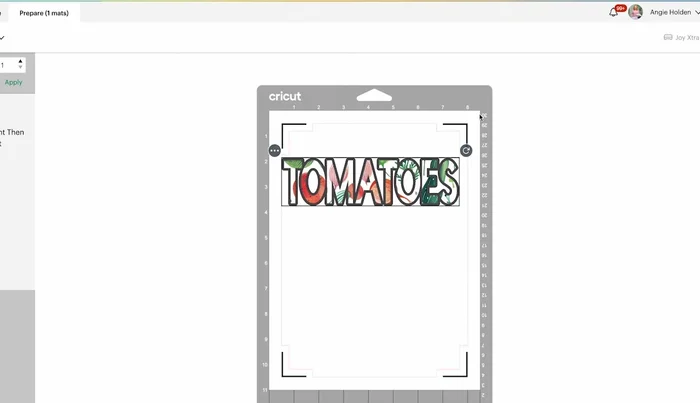
Upload Design
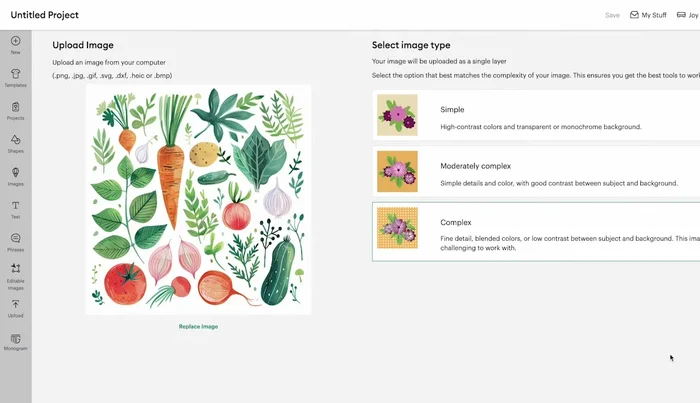
- Upload your garden pattern to Cricut Design Space.
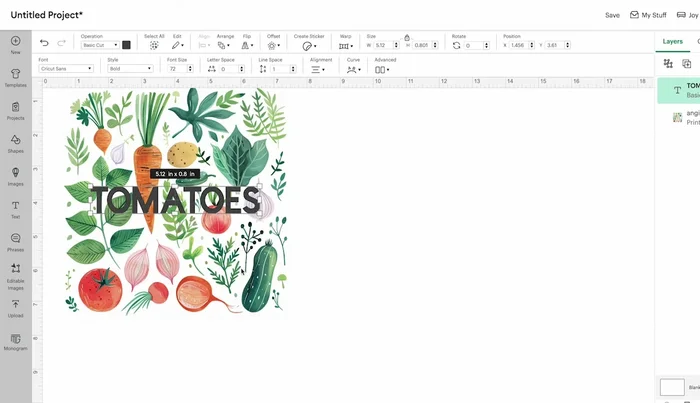
Upload Design Add and Customize Text
- Add text, choose a font, and resize it.
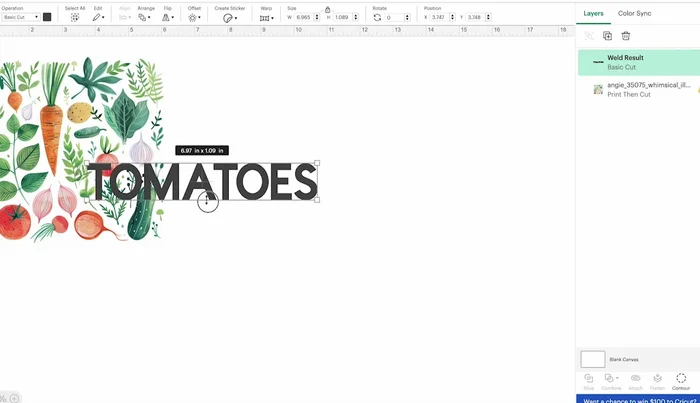
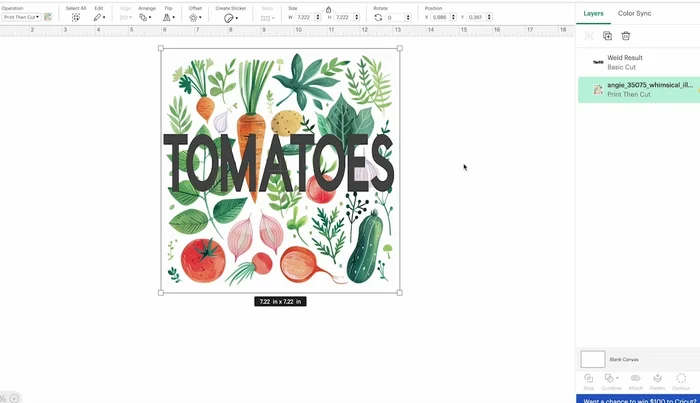
Add and Customize Text Combine Design Elements
- Combine and weld text and design elements.
Combine Design Elements Resize for Marker
- Resize the combined design to fit your marker blank.
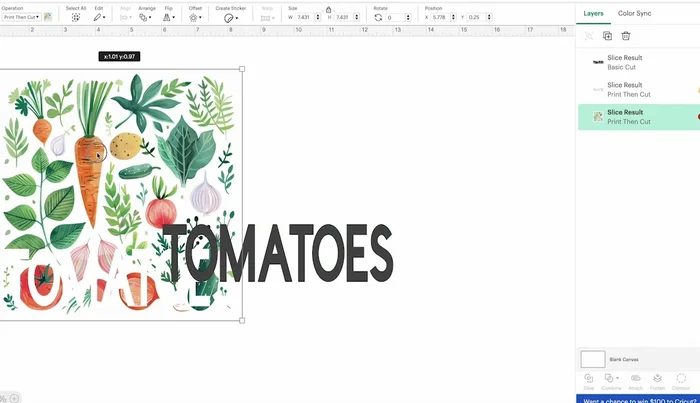
Resize for Marker Slice Design
- Slice the design to separate elements.
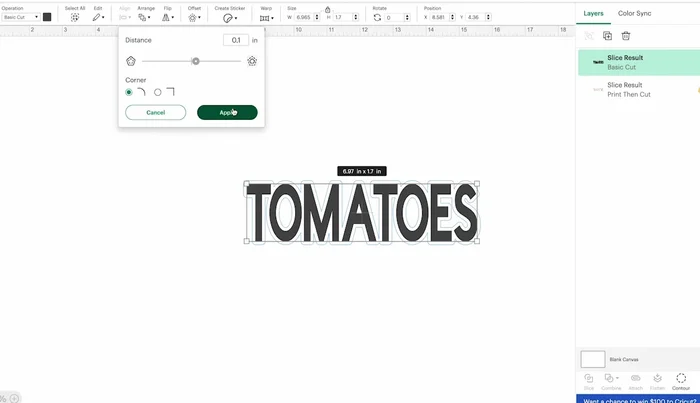
Slice Design Add Text Offset
- Add an offset to the text for a clean cut.
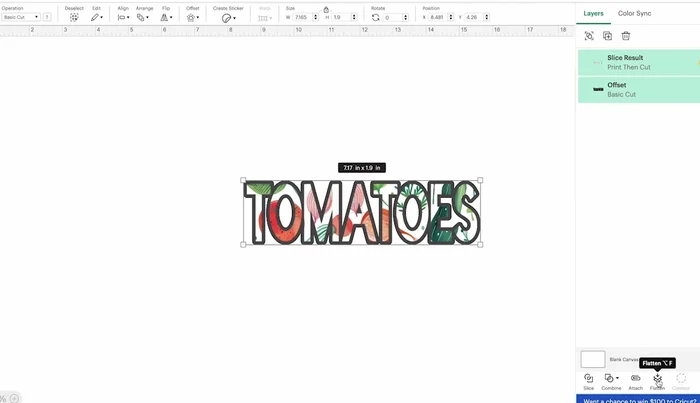
Add Text Offset Flatten Layers
- Flatten the design layers.
Flatten Layers Print and Cut
- Print the design using Cricut Design Space's print and cut feature (flip horizontally in printer settings).
Print and Cut
Tips
- Use a bold font for better visibility on the marker.
- Adjust offset size as needed.
- Cricut Design Space's registration marks cannot be removed; account for this when placing your design.