Tired of grocery bills eating up your budget? Yearning for the satisfaction of growing your own fresh produce, but intimidated by the cost of elaborate hydroponic systems or expansive garden plots? Then you've come to the right place! This guide will show you how to construct a remarkably effective and affordable DIY grow box for under $1 – yes, you read that right! We'll utilize readily available, often discarded, materials to create a thriving environment for your herbs, vegetables, and even small fruiting plants. Forget expensive equipment and complicated setups; this project prioritizes simplicity and resourcefulness.
Imagine sprouting your own vibrant basil, juicy tomatoes, or crisp lettuce without breaking the bank. This incredibly cheap and easy grow box project is perfect for beginners and seasoned gardeners alike, offering a sustainable and rewarding way to boost your food supply. Ready to get your hands dirty and start growing? Let's dive into the step-by-step instructions and transform those inexpensive materials into a productive mini-farm!
Safety Guidelines
- Ensure adequate ventilation to prevent mold and mildew growth. Poor air circulation can lead to disease in your plants and potentially create unhealthy conditions.
- Use clean, sterilized containers and soil to avoid introducing pests or diseases to your plants.
- Monitor your plants closely for signs of disease or pests. Act quickly if you see any problems to prevent widespread damage.
Methods: Self-Watering Grow Box using Cardboard, Trash Bags, and Sandbags
Tools Needed
- Cardboard box
- Heavy-duty contractor trash bags (3 mil, 42g)
- Gorilla tape
- Sandbags
- Isopropyl alcohol
Step-by-Step Instructions
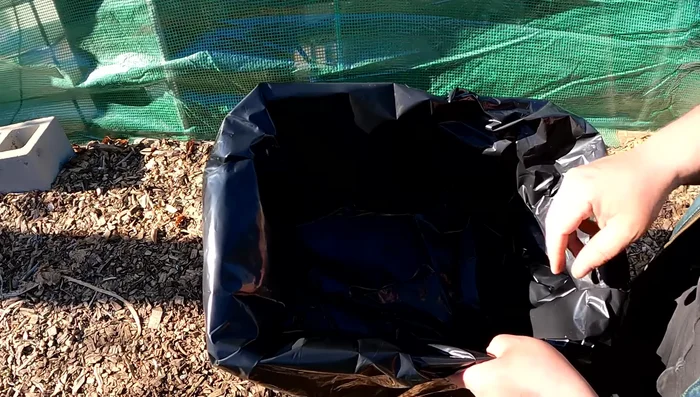
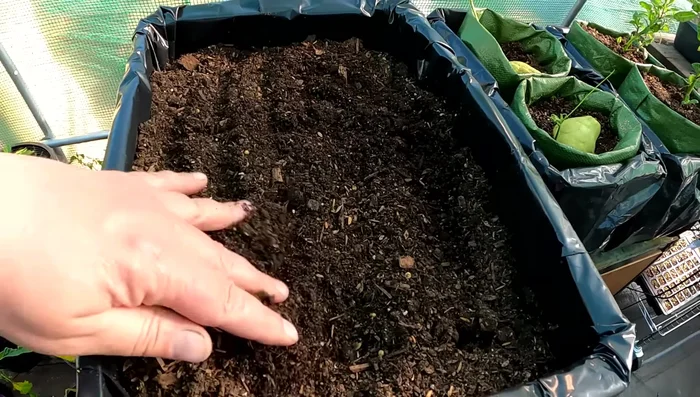
Prepare the Grow Box Liner
- Place a heavy-duty trash bag inside the cardboard box.
- Leave extra bag material for creating a drainage pocket (optional, or for self-wicking system).
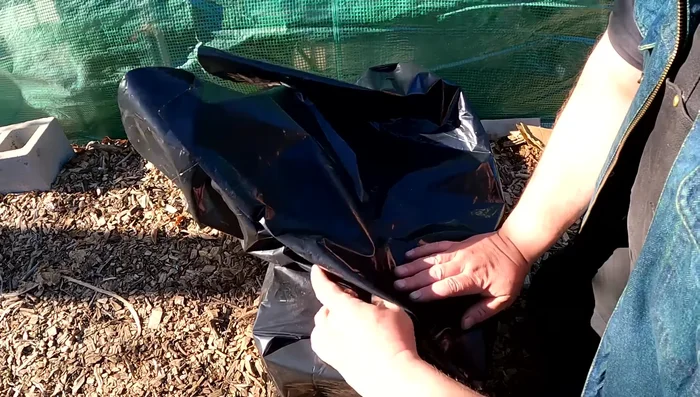
- Fold the bag over the top of the box, like wrapping a gift.
- clean with isopropyl alcohol for better adhesion).

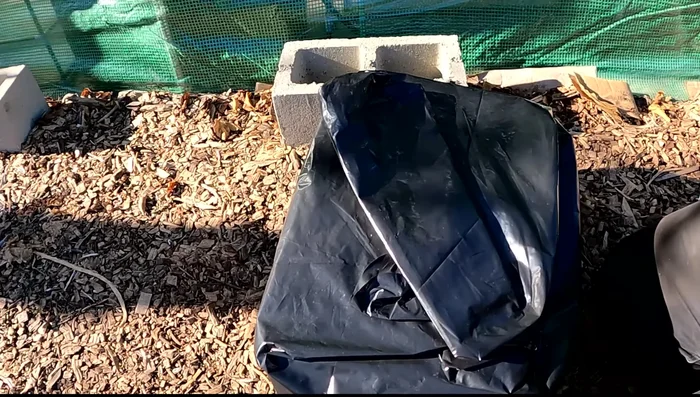
Prepare the Grow Box Liner Create Drainage (Optional)
- Create a drainage hole (optional) towards the bottom of the bag, away from the box edges, to prevent water from soaking the cardboard.
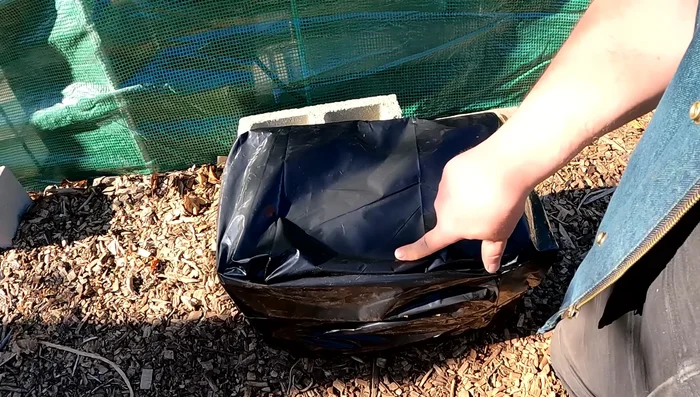
Create Drainage (Optional) Fill and Plant
- Add soil to the container.
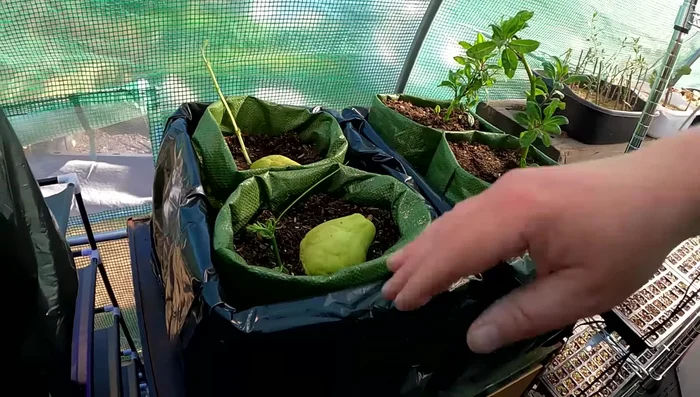
- For a self-wicking system, place sandbags filled with soil inside the container.
Fill and Plant

Tips
- Use 3 mil, 42g heavy-duty trash bags for watertightness.
- For outdoor use, consider adding burlap for UV protection and to keep the soil cooler.
- Water the self-wicking containers every few days, allowing the water to fully absorb before adding more.