Transform your living space into a lush, verdant oasis with these simple and stylish DIY plant hangers and stands! Tired of your plants cluttering your windowsills or looking underwhelming on the floor? Adding a touch of greenery can dramatically enhance your home's aesthetic, and creating your own plant displays is both rewarding and surprisingly easy. Whether you prefer a rustic charm or a modern minimalist look, this guide provides three unique projects that will suit any style and skill level. From repurposing everyday materials to crafting elegant designs, we'll show you how to elevate your home décor with your own handcrafted plant creations, adding a personalized touch to your interior.
Get ready to unleash your creativity and nurture your green thumb! In the following sections, you'll find detailed, step-by-step instructions for each of the three easy DIY plant hanger and stand projects, complete with helpful tips and tricks to ensure success. Let's get started on creating beautiful and functional homes for your beloved plants.
Safety Guidelines
- Always ensure your plant hangers and stands are strong enough to support the weight of your plants and pots, including the soil and water. Overloading can lead to accidents.
- Position plant hangers and stands away from direct heat sources (like fireplaces or radiators) and out of reach of children and pets to prevent burns or damage.
- Regularly check the structural integrity of your DIY plant stands and hangers. Look for signs of wear and tear, especially in the supporting structures, and repair or replace them as needed.
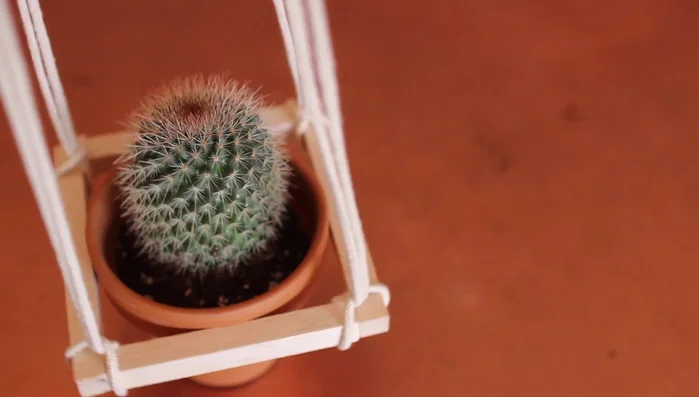
Methods: Square Wooden Plant Stand
Tools Needed
- square wooden dowel
- four nails
- pencil
- hammer
- saw
- macrame cord
- wood glue
- plant
Step-by-Step Instructions
Prepare the Dowels
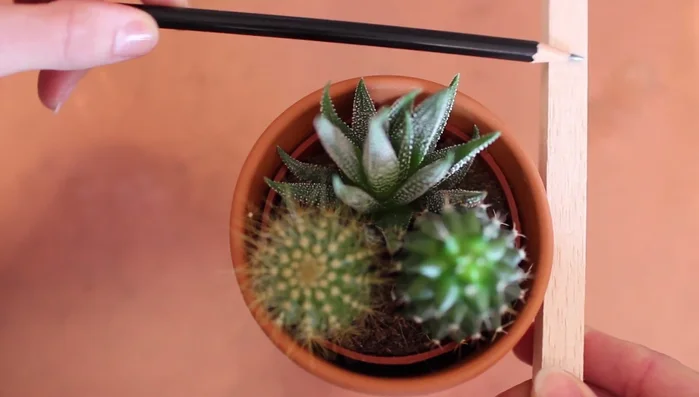
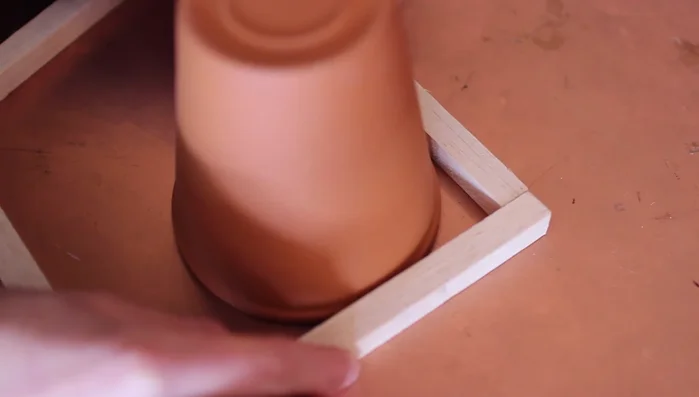
- Measure and cut four pieces of wooden dowel to fit snugly around the plant pot.
- Sand down the edges if needed. Build a square around the upside-down pot to ensure a snug fit.

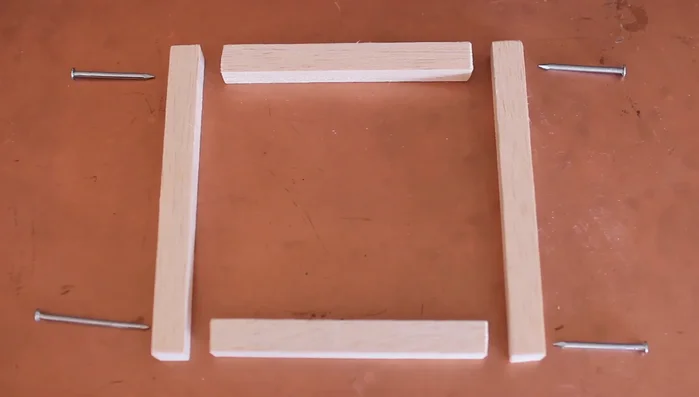
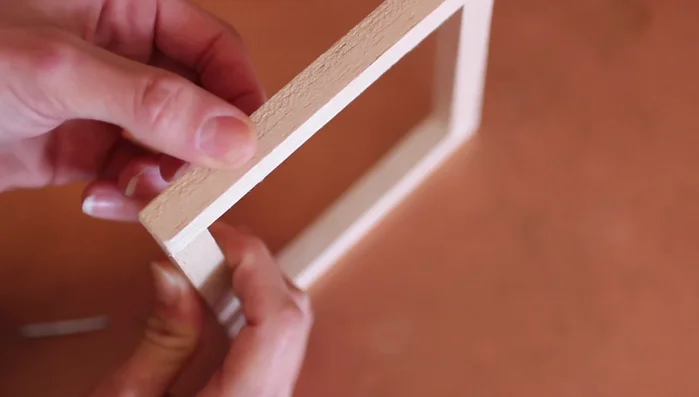
Prepare the Dowels Assemble the Square Base
- Apply wood glue to each dowel piece before nailing them together to form a square.
- For the final corner, use wood glue and pressure to align the pieces before nailing.
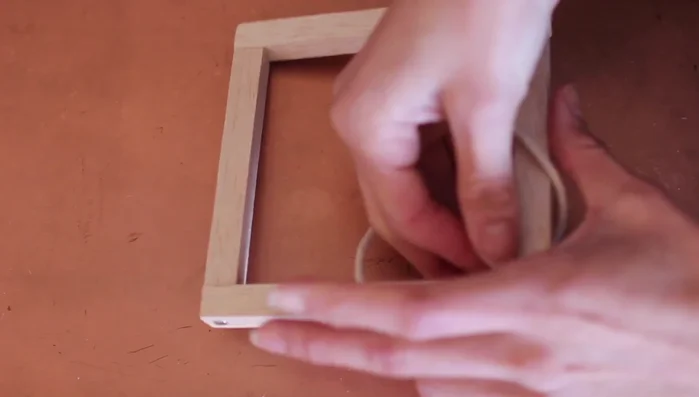
Assemble the Square Base Attach the Macrame Cord
- Fold a piece of macrame cord in half, loop it through itself, and secure it tightly to each corner of the square.
- Tie a knot at the top of all the cords.
Attach the Macrame Cord
Tips
- Ensure the dowel pieces are cut to a snug fit around the pot to prevent slipping.
Methods: Mini Plant Table
Tools Needed
- tabletop
- legs
- drill
- drill bit
- measuring tape
- stain (optional)
- pencil
- wood glue
Step-by-Step Instructions
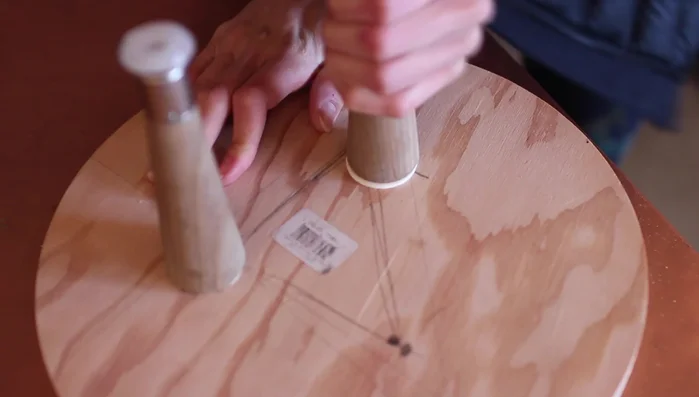
Assemble the Plant Table Legs
- Drill holes into the tabletop where you want to place the legs.
- Screw the legs into the holes, adding wood glue for extra security.
Assemble the Plant Table Legs Create the Mini Plant Stand
Make the Leather Plant Hanger
Tips
- For small tables, you can eye-ball the leg placement.
Methods: Leather Plant Hanger
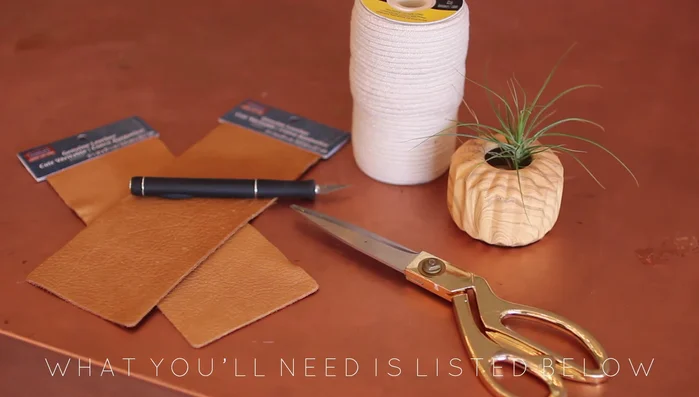
Tools Needed
- two pieces of pre-cut leather
- X-acto knife
- scissors
- plant
- macrame cord
Step-by-Step Instructions
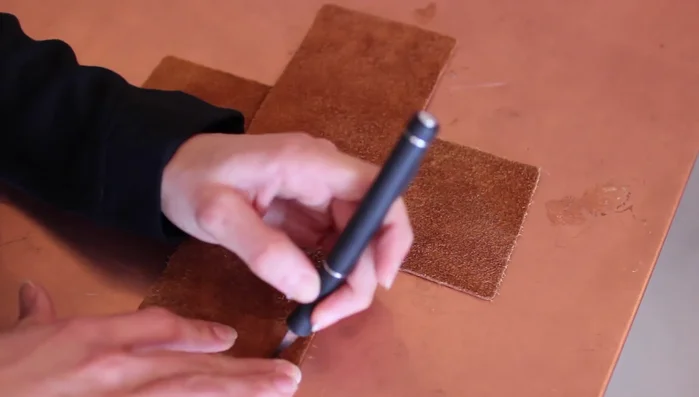
Prepare Leather Pieces
- Arrange the leather pieces in a T-shape.
- Use an X-acto knife to make an X-shaped hole in each corner of the leather pieces.
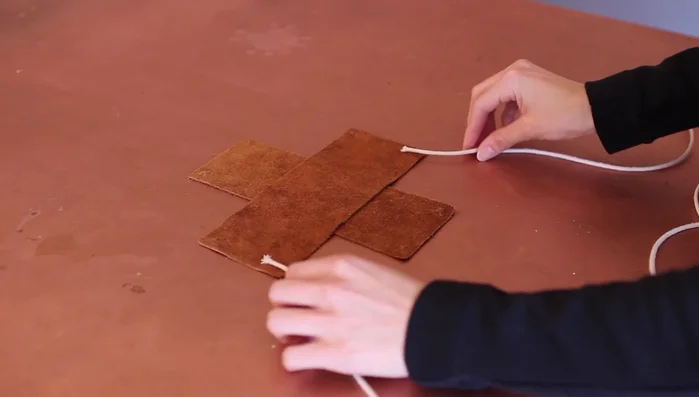
Prepare Leather Pieces Attach Cord to First Leather Piece
- Cut four equal-length pieces of macrame cord. Thread one cord through opposite corners of one leather piece and tie a knot.
- Repeat step 3 with a second cord on the opposite side of the same leather piece.
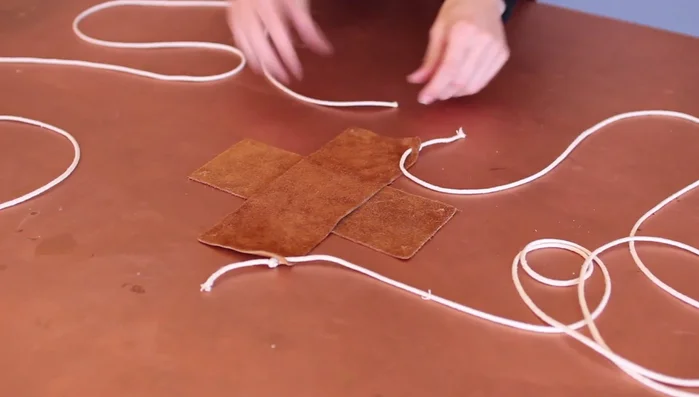
Attach Cord to First Leather Piece Attach Cord to Second Leather Piece
- Repeat steps 3 and 4 for the second leather piece.
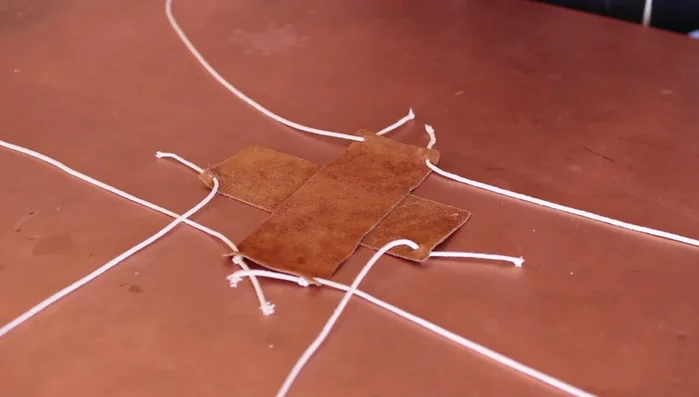
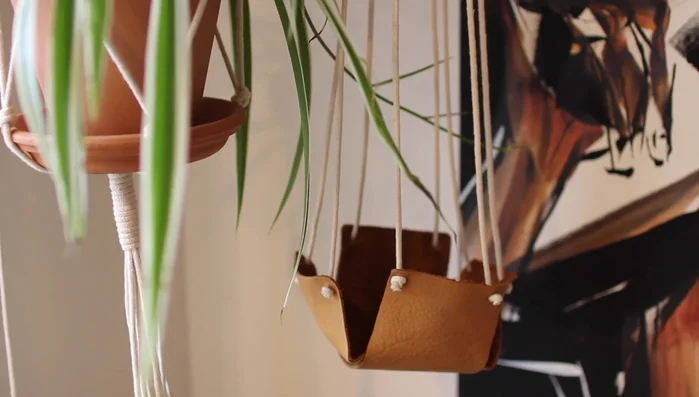
Attach Cord to Second Leather Piece Finish and Hang
- Trim excess cord and place the plant in the center, pulling the cords together to hang.
Finish and Hang
Tips
- Hang the hanger first without the plant. Ensure your plant isn't too heavy; otherwise, use thicker leather and position knots lower.