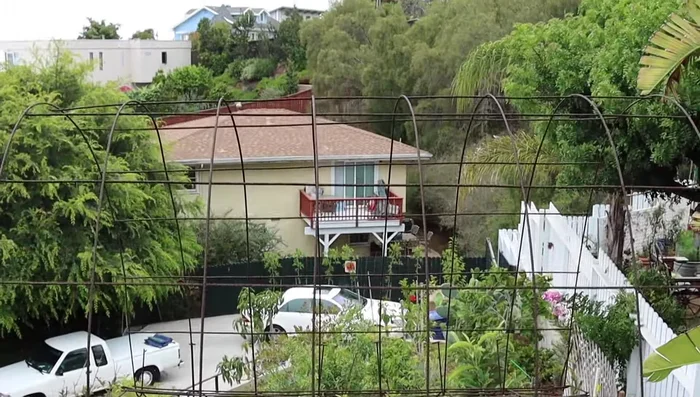
The allure of a flourishing garden is undeniable, but limited space and escalating costs often present significant hurdles for aspiring green thumbs. Forget sprawling lawns and expensive landscaping; the future of gardening is vertical! This guide explores the exciting world of affordable vertical gardening, proving that cultivating a vibrant and productive garden doesn't require a vast outdoor area or a hefty budget. We'll delve into the ingenuity of DIY, transforming everyday materials into stunning and functional trellises that maximize space and minimize expenses. Forget pricey store-bought solutions; we'll show you how to create your own vertical oasis.
From repurposed pallets and reclaimed wood to ingenious upcycled containers, we'll uncover a wealth of creative and cost-effective options for building your own vertical garden. This comprehensive guide will not only inspire you with unique design ideas but will also provide you with the practical know-how to get started. Ready to transform your small space into a thriving green haven? Let's dive into the step-by-step instructions and begin building your own affordable vertical garden today!
Safety Guidelines
- Ensure all structures are sturdy enough to support the weight of mature plants. Overburdening a trellis can lead to collapse and injury.
- Use appropriate materials for your climate. Wood needs to be treated for rot and pests in humid areas. Metal can overheat in direct sun.
- Always check for sharp edges or splinters on DIY trellises, especially if children or pets will be nearby.
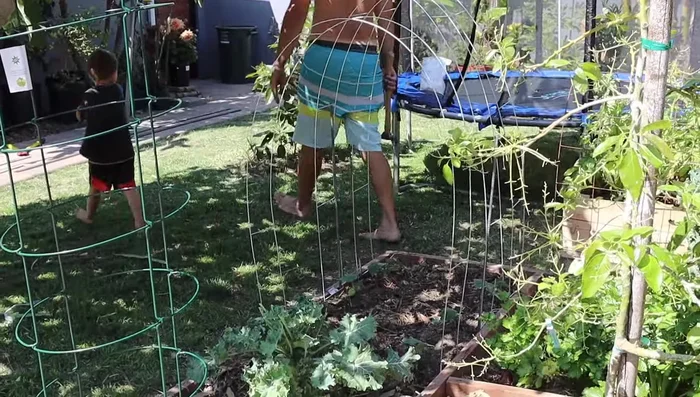
Methods: Cattle Panel or Mesh Mat Arch Trellis
Tools Needed
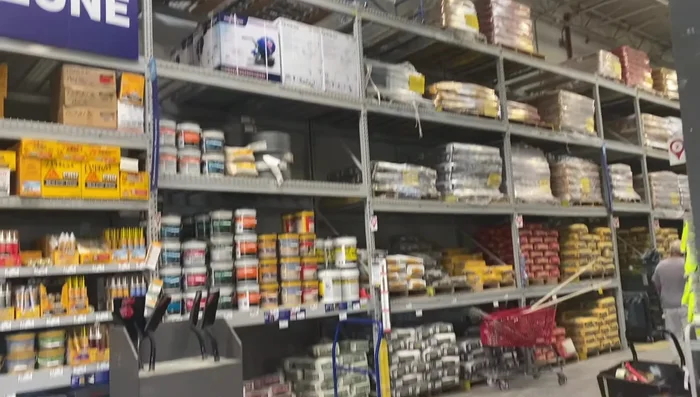
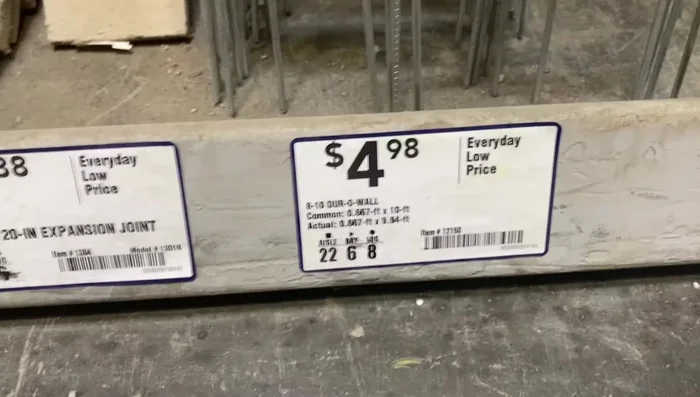
- Cattle panels (or 3.5ft x 7ft mesh mats from home depot)
- Zip ties
- Rebar (optional for extra support)
Step-by-Step Instructions
Assemble the Arch
- If using mesh mats, connect several together using zip ties.

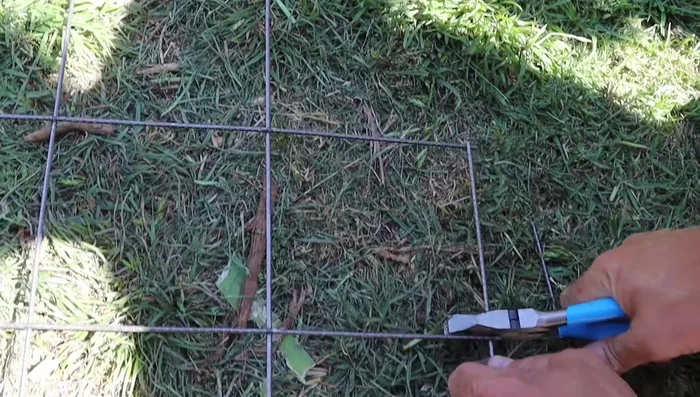
Assemble the Arch Prepare for Ground Insertion
- Trim off bottom horizontal slats to create stakes.
Prepare for Ground Insertion Install the Arch
- Push stakes into the ground to form an arch.
Install the Arch
Tips
- Consider using rebar to further secure the arch in the ground.
Methods: Ladder Mesh Arch Trellis
Tools Needed
- Ladder mesh
- Rebar
Step-by-Step Instructions
Material Acquisition
- Purchase inexpensive ladder mesh.
Material Acquisition Arch Construction
- Stake pieces of ladder mesh into the ground using rebar, weaving the rebar through the mesh.
Arch Construction
Tips
- Use this for cucumbers or other vining plants.
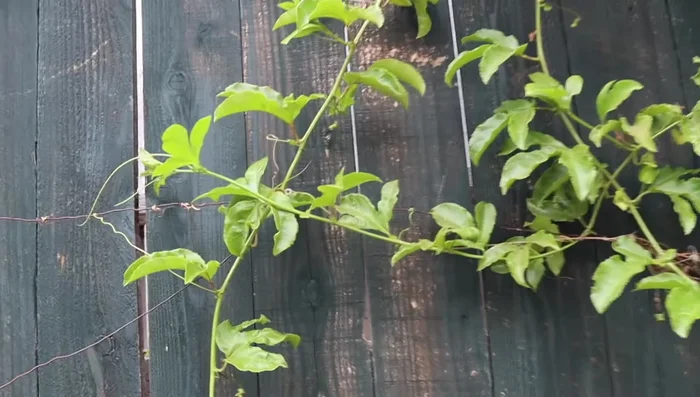
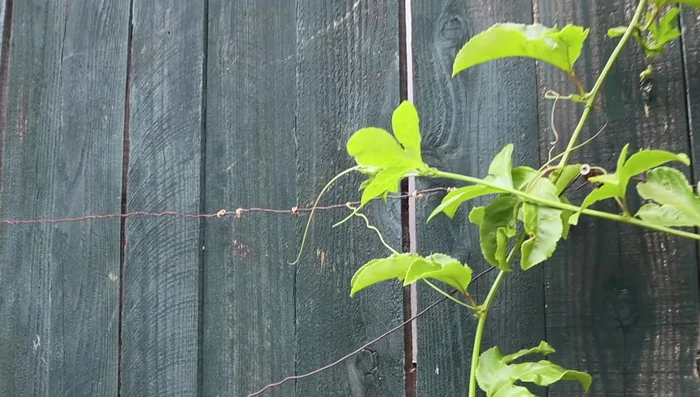
Methods: Upcycled Materials: Fences and Gates
Tools Needed
- Existing fence or privacy screen
- Screws
- Hardware wire
- Old baby gates (or similar)
Step-by-Step Instructions
Creating a Trellis on an Existing Fence
- Attach screws to a fence to create attachment points for wire.
- Wrap hardware wire around the screws to create a trellis.
Creating a Trellis on an Existing Fence Upcycling Baby Gates as Trellises
- Stake old baby gates into the ground for vertical support.
Upcycling Baby Gates as Trellises
Tips
- Use for plants like passion vines, mint, or blueberries.
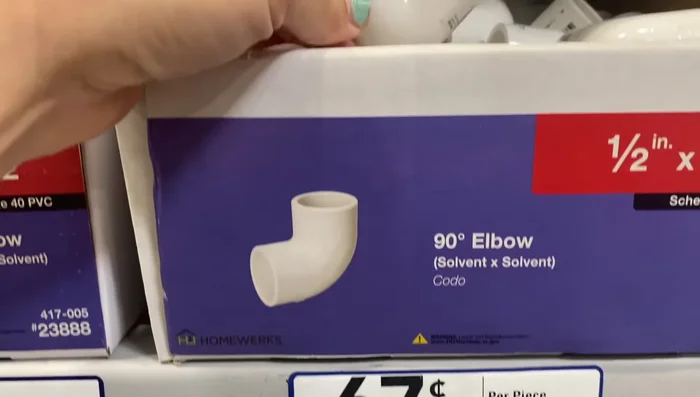
Methods: PVC Pipe Tomato Trellis
Tools Needed
- PVC pipe
- L-shaped PVC connectors
- String
Step-by-Step Instructions
Prepare PVC Pipe Supports
- Cut PVC pipe into thirds.
Prepare PVC Pipe Supports Assemble the Trellis
- Use L-shaped connectors to create a support structure.
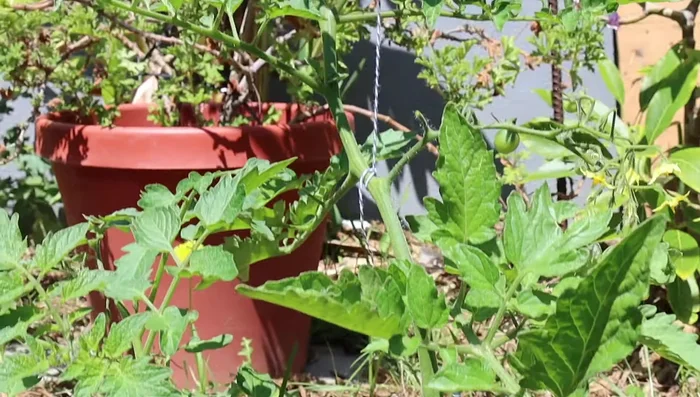
Assemble the Trellis Train Tomato Plants
- Hang string from the top bar and train tomato vines up the string.
Train Tomato Plants

Tips
- Paint the poles for a more aesthetically pleasing look.
Methods: 4x4 Post & Wire Grape Trellis
Tools Needed
- 4x4 posts
- Eye hooks
- Metal wire
Step-by-Step Instructions
Attach Eye Hooks
- Screw eye hooks into the 4x4 posts.
Attach Eye Hooks String the Wire
- Wrap metal wire through the eye hooks to create a trellis system.
String the Wire


Tips
- This design requires some maintenance over time.