Hanging baskets add a touch of whimsical charm and vibrant color to any outdoor space. But when those baskets stray from the standard spherical shape – think oversized, uniquely sculpted containers, or even repurposed items – the task of lining them for planting becomes a bit more challenging. Perfectly lining these unusual vessels is crucial to prevent soil spillage and ensure the healthy growth of your plants. Forgetting to line them properly can lead to messy drips and frustrated gardeners.
Creating lush, overflowing displays in these larger-than-life containers is easier than you might think. This guide will walk you through a step-by-step process, providing practical advice and techniques for lining any size and shape of hanging basket, no matter how unconventional. Get ready to transform your outdoor space with beautifully planted, uniquely shaped hanging baskets!
Safety Guidelines
- Always wear gloves when working with moss, coco liners, or any other lining material to protect your hands from splinters or irritants.
- Ensure the basket is securely hung and stable before you begin lining. A heavy, awkwardly shaped basket can be dangerous if it tips while you're working.
- Use appropriate lifting techniques when handling heavy materials and filled baskets to avoid injury. Ask for help if needed.
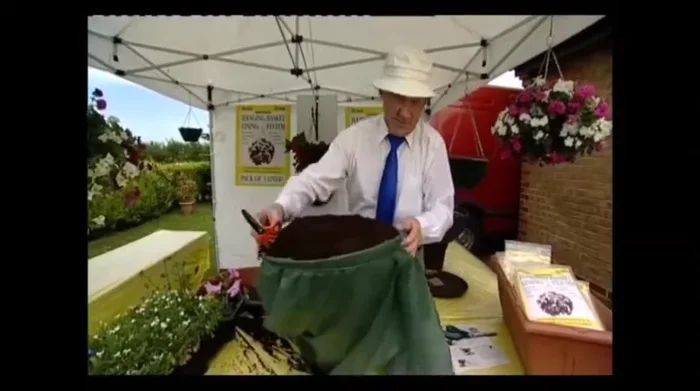
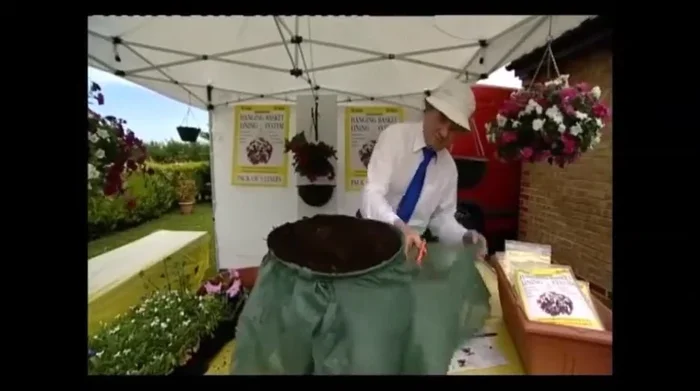
Methods: Overlapping Liner Method for Wide Baskets
Tools Needed
- Two pieces of liner material
- Garden twine
- Liner material
Step-by-Step Instructions
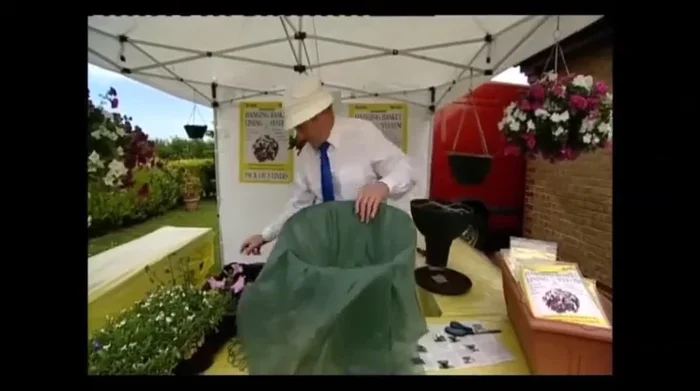
Liner Placement
- Place the first piece of liner material into the basket.
- Position the second piece of liner material, overlapping the first in the center by approximately six inches.

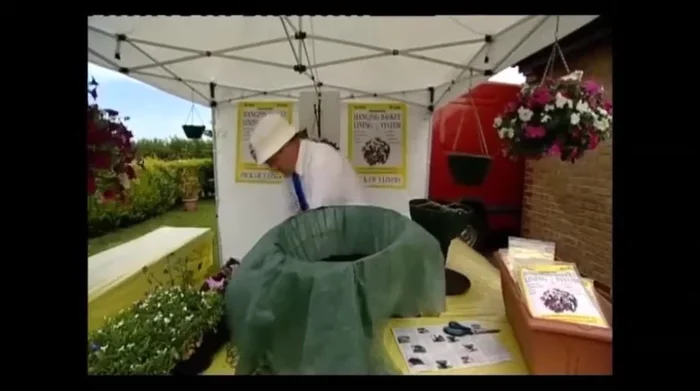
Liner Placement Reservoir Creation
- Add a polythene liner to the bottom to create a reservoir for water.
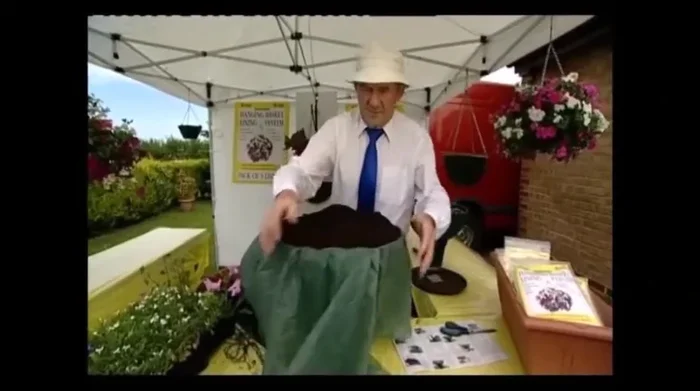
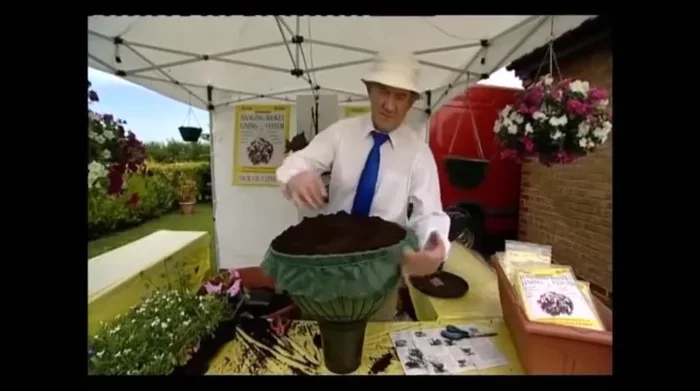
Filling and Finishing
- Add compost and slow-release fertilizer.
- Fill the basket to the top.
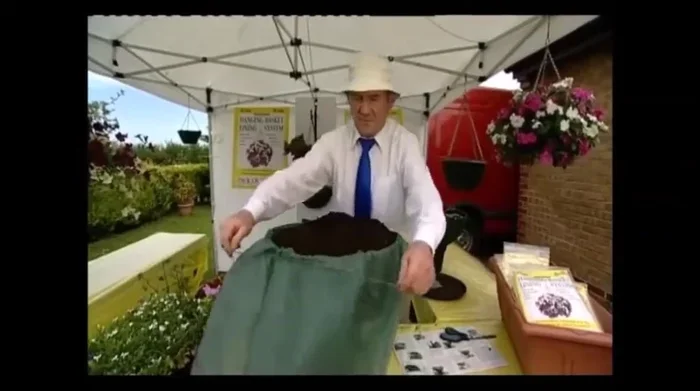
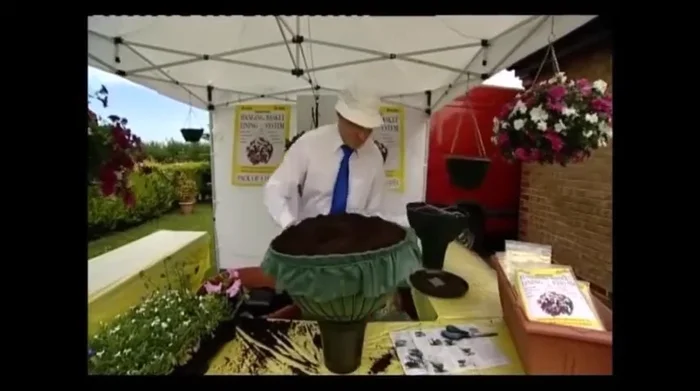
- Pull lightly on the overlapping liner to create a neat finish.
- Use garden twine to secure the liner around the rim of the basket.
Filling and Finishing
Tips
- The overlapping method works well for baskets up to 36 inches.
- For wider baskets, adjust the overlap as needed.
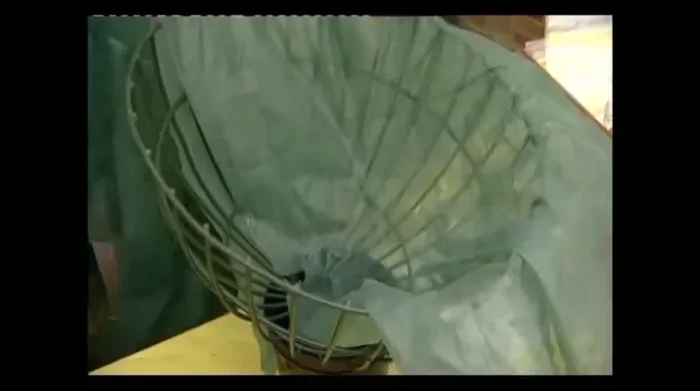
Methods: Lining Oval or Rod Iron Baskets
Tools Needed
- Liner material
- Garden twine
Step-by-Step Instructions
Positioning the Liner
- Place the first piece of material down the front of the basket to the bottom.
- Place the second piece down the back of the basket.
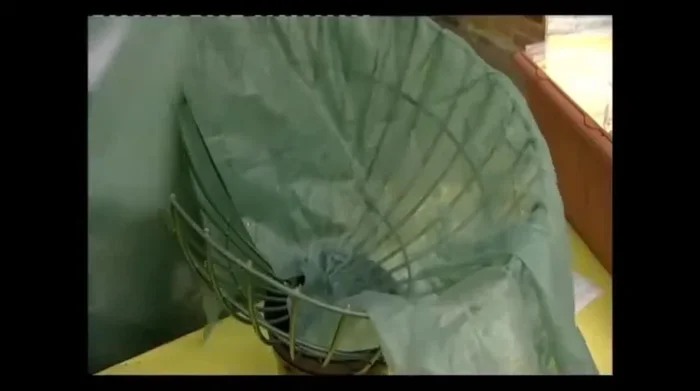
Positioning the Liner Securing the Liner
- Overlap the first piece and tuck it in.
Securing the Liner Trimming the Liner
- Trim the excess liner material, leaving 4-5 inches on the oval top.
Trimming the Liner Finishing and Securing
- Fold the liner over the rim and secure with twine.
Finishing and Securing

Tips
- This method works for baskets up to 56 inches.
- Adjust the amount of liner material left for the top depending on the basket's width.
Read more: Effortless Hanging Basket Planting: A Step-by-Step Guide