Snake plants, with their striking architectural leaves and remarkable resilience, are a favorite among indoor gardeners. Their low-maintenance nature makes them perfect for beginners, but even these hardy plants benefit from occasional repotting. Over time, their roots can become overcrowded, hindering growth and potentially leading to unhealthy foliage. Knowing when and how to repot your snake plant is key to keeping it thriving for years to come, ensuring its vibrant presence brightens your home.
This guide will demystify the process, providing a clear and easy-to-follow step-by-step approach to repotting your snake plant, regardless of your experience level. Whether your plant needs a slightly larger pot or a complete overhaul, we’ll walk you through every stage, ensuring a smooth and successful repotting experience that will leave your snake plant looking its best.
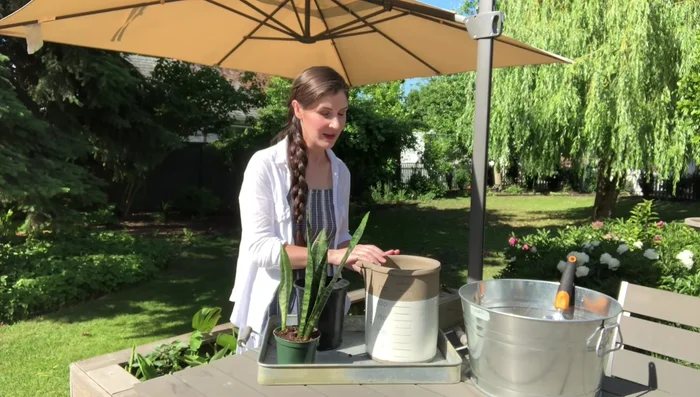
Preparation and Safety Guidelines
- Snake plant
- Indoor planter (without drainage hole)
- Nursery pot (as an inner liner)
- Succulent potting soil
- Small trowel (optional)
- Scrap of wood (optional)
- Wear gloves when handling snake plants, as the sap can irritate some people's skin.
- Use well-draining potting mix to prevent root rot. Avoid using garden soil.
- Choose a pot only slightly larger than the previous one. Over-potting can lead to overwatering and root problems.
Step-by-Step Instructions
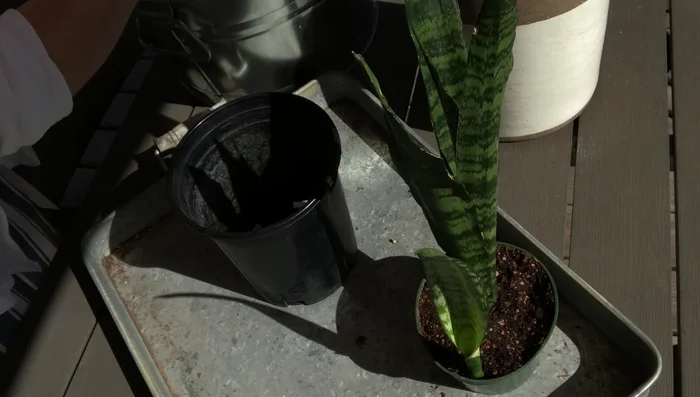
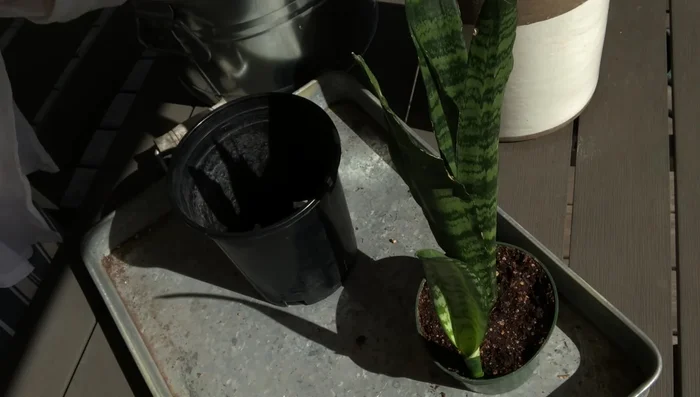
Choosing and Preparing the Planter
- Choose a suitable planter with an inner liner pot. The planter should be wider than the existing pot to give the snake plant room to grow, but a shallow planter is acceptable as long as it's wide. The liner pot is crucial for drainage.
- Prepare the new pot. Place the inner nursery pot (with drainage holes) inside the decorative planter.

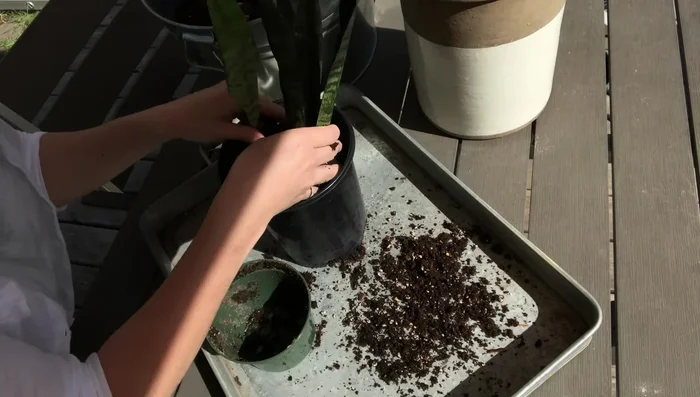
Choosing and Preparing the Planter Removing the Snake Plant
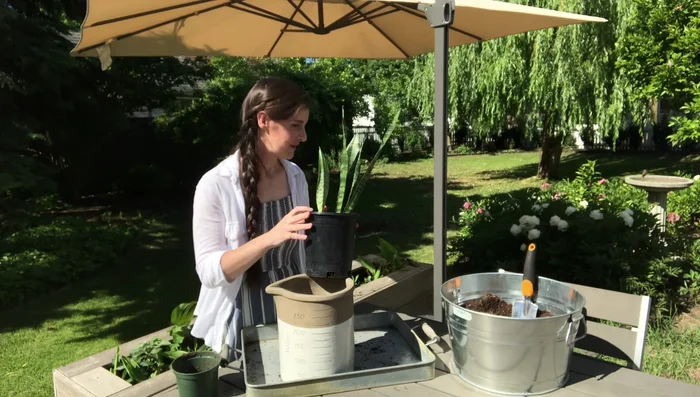
- Gently remove the snake plant from its original pot. Be careful not to damage the roots. If the plant is stuck, use a trowel to carefully loosen it.
Removing the Snake Plant Adding Soil and Planting
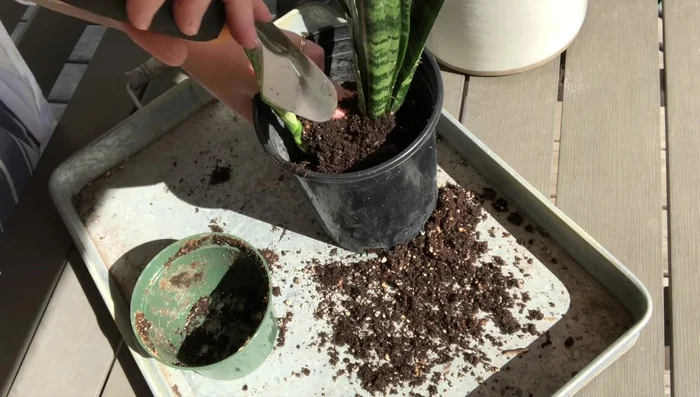
- Add a layer of succulent potting mix to the bottom of the nursery pot. This provides adequate space for root growth and water drainage.
- Place the snake plant into the new pot, ensuring the stem meets the soil about an inch below the top of the pot.
Adding Soil and Planting Backfilling and Finishing
- Backfill with more succulent potting mix, gently pressing the soil around the plant with your fingers. Aim for a mix that is lightweight and well-draining.
- Prop up the nursery pot inside the decorative planter using a small piece of wood. This improves drainage and prevents the plant from sitting in excess water.
Backfilling and Finishing
Read more: Repotting Succulents: A Step-by-Step Guide for Lush, Healthy Plants
Tips
- Don't overwater after repotting. Snake plants are drought-tolerant and don't require frequent watering. Wait several days, or even a week, before watering.
- Avoid fertilizing immediately after repotting. Allow the plant time to adjust to its new environment.
- Use a lightweight, well-draining potting mix such as a succulent or cactus mix.