Tired of unsightly plant pots cluttering your patio or windowsill? Craving a stylish and sustainable solution for your indoor jungle? Then get ready to transform discarded wood into a charming and functional upcycled plant pot caddy! This simple DIY project is perfect for beginners and requires minimal tools and materials, making it a fantastic weekend project for any home gardener or craft enthusiast. You'll be surprised at how much character you can inject into your home décor with just a little creativity and some reclaimed wood.
This tutorial will guide you through the process of creating your own unique and personalized plant pot caddy, turning unwanted wood scraps into a beautiful and practical addition to your home. Forget expensive store-bought planters – let’s get started with our step-by-step instructions and transform those old planks into a stunning statement piece!
Preparation and Safety Guidelines
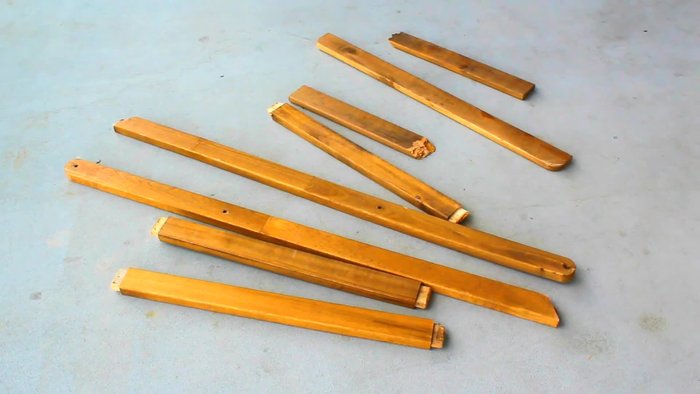
- Old wood pieces
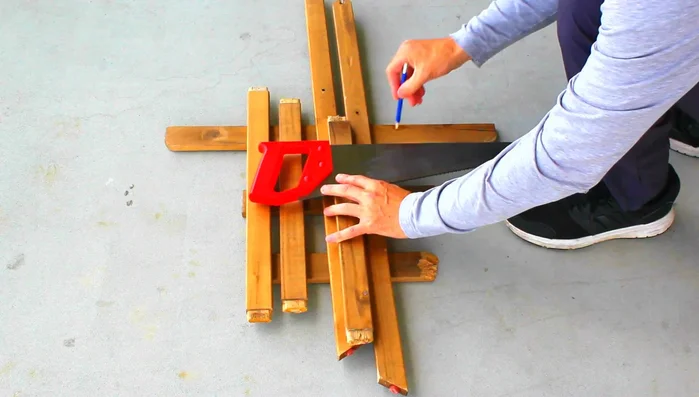
- Saw
- Screws
- Phillips driver bit
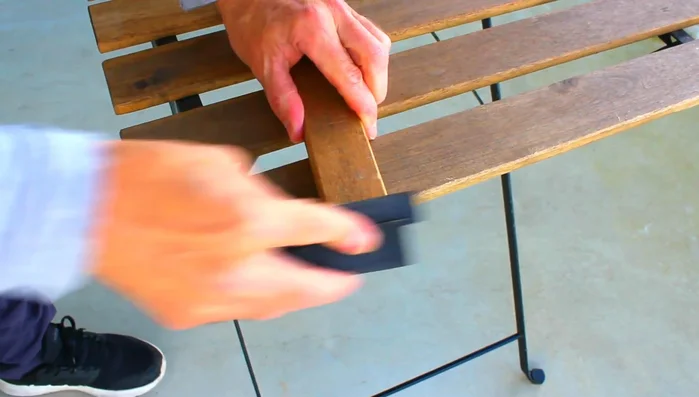
- Sandpaper
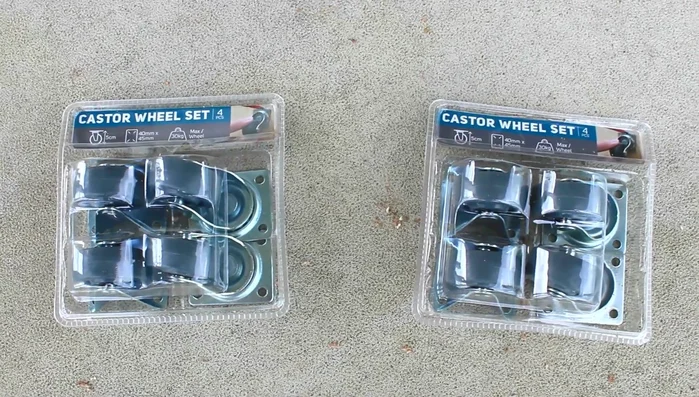
- Caster sets
- Always wear safety glasses when sawing, sanding, or using power tools. Wood dust can also irritate eyes and lungs, so consider wearing a dust mask as well.
- Ensure all wood is thoroughly cleaned and dried before starting the project to prevent rot or mold growth in your plant pots. Check for any splinters or sharp edges and sand smooth before painting or staining.
- Use appropriate finishes for outdoor use if you intend to place your plant caddy outside. Water-based sealants are generally safer for plants than oil-based ones.
Step-by-Step Instructions
Gather and Prepare Wood
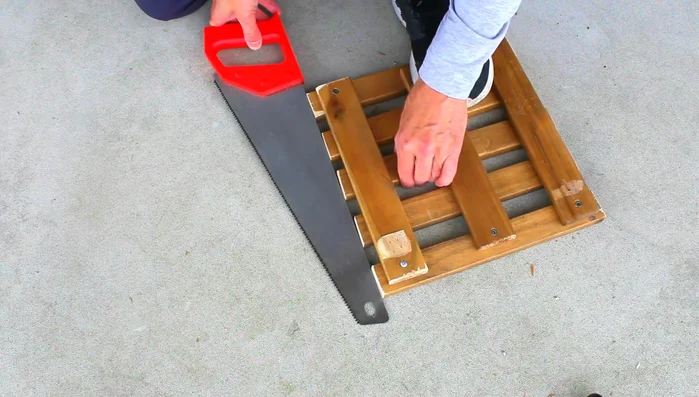
- Gather and select usable pieces of wood.
- Measure and cut wood pieces to the desired length (approximately one foot).
- Sand the ends of the wood pieces to smooth them out.

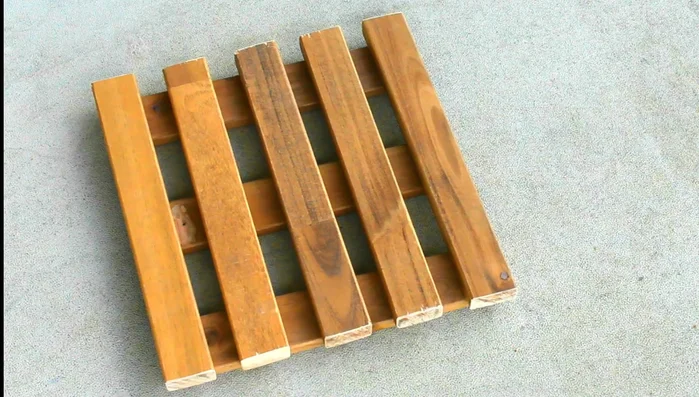
Gather and Prepare Wood Assemble the Base
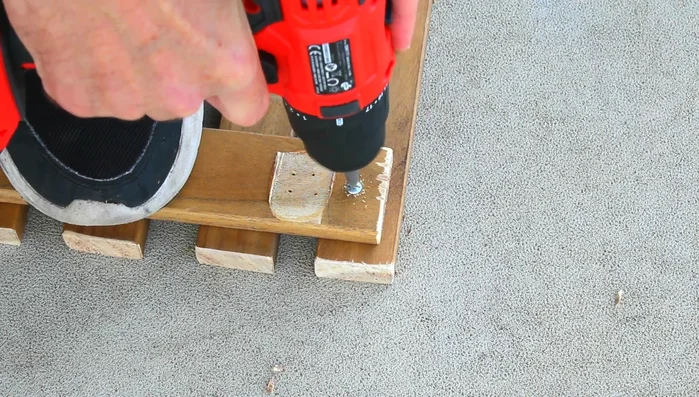
- Arrange the wood pieces to create the base structure.
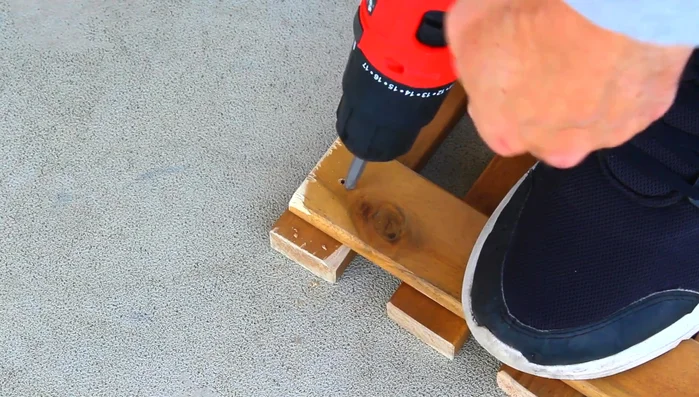
- Pre-drill holes and countersink them to prevent wood splitting.
- Attach the wood pieces using screws from below.
- Even out and space the middle pieces equally before fully securing.
Assemble the Base Attach Caster Wheels
- Attach the caster wheels using screws.
Attach Caster Wheels
Read more: DIY Pot Dollies: Build Sturdy Plant Movers for Heavy Pots
Tips
- When hand sawing, start slowly and establish a small groove before speeding up the blade to maintain a square angle and straight cut.
- Pre-drill holes before screwing to prevent wood splitting, especially when using upcycled wood and old screws.