Wicker baskets, with their rustic charm and inherent practicality, are beloved for storage and display in countless homes. However, their natural material leaves them vulnerable to the damaging effects of moisture, limiting their usability both indoors and out. This inherent fragility often restricts their use to dry environments, a significant drawback for those who appreciate their aesthetic appeal. Imagine transforming your cherished wicker baskets into weather-resistant marvels, capable of withstanding the elements without compromising their delightful texture and appearance. No need for expensive, cumbersome coatings!
This article will guide you through a surprisingly simple and elegant method of waterproofing your wicker baskets using nothing more than needle and thread, and a specially chosen sealant. Forget harsh chemicals and complicated processes; this technique preserves the natural beauty of the wicker while effectively protecting it from water damage. Ready to learn how to effortlessly waterproof your wicker baskets and expand their functional life? Let's dive into the step-by-step process.
Preparation and Safety Guidelines
- Needle
- Thread
- Household bin liners
- Plate or plant saucer
- Scissors
- Always work in a well-ventilated area. The waterproofing solutions used can release fumes.
- Test your chosen waterproofing solution on a hidden area of the wicker first to check for discoloration or damage.
- Allow the basket to dry completely before storing or using it to avoid trapping moisture and causing mildew.
Step-by-Step Instructions
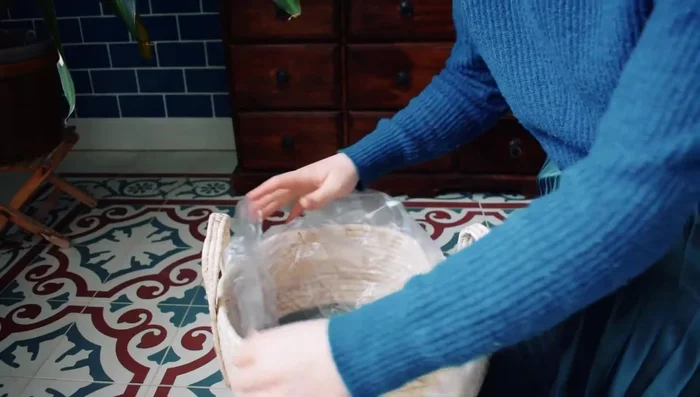
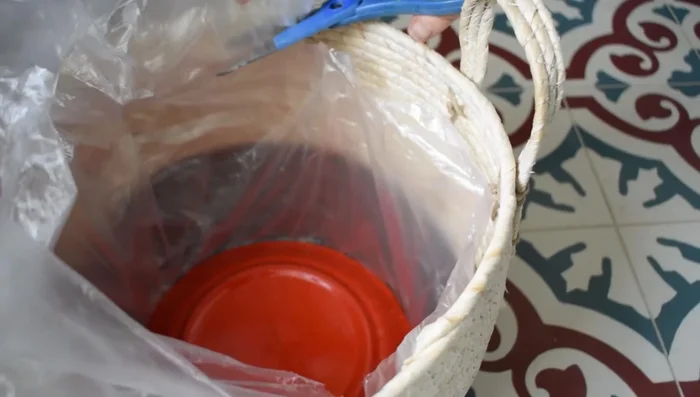
Prepare the Basket Liner
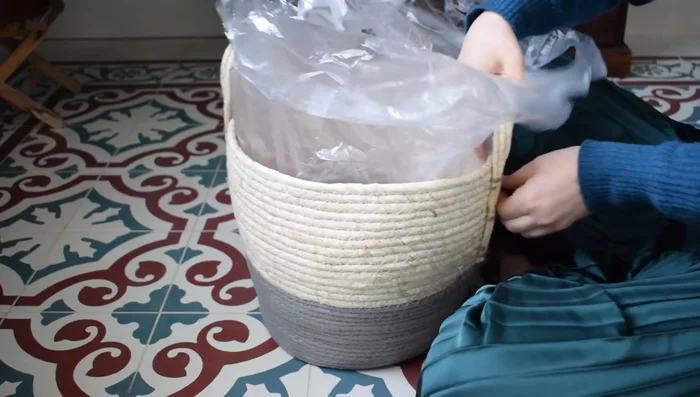
- Place bin liner(s) inside the basket, flattening it and folding the top over the sides. Double up the liners if they're thin.
- Place a weight (plate, saucer) at the bottom of the basket to hold the liner in place.

Prepare the Basket Liner Sew the Liner to the Basket
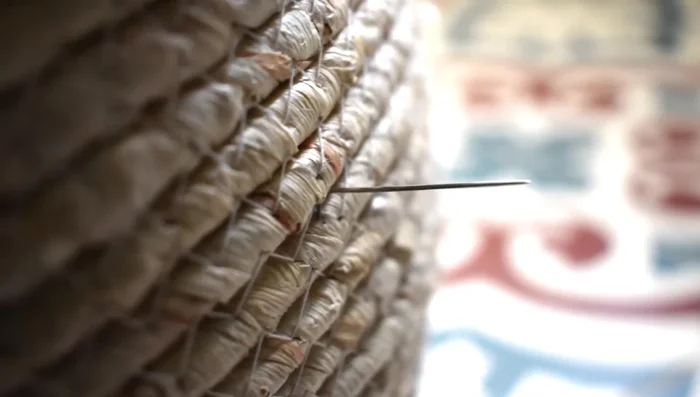
- Using a needle and thread, sew the bin liner to the basket, approximately 7cm below the rim. Start from the inside to hide the knot.
- Push the needle through gaps between the basket's layers to further conceal the thread. Repeat this process 4-6 times for each section.
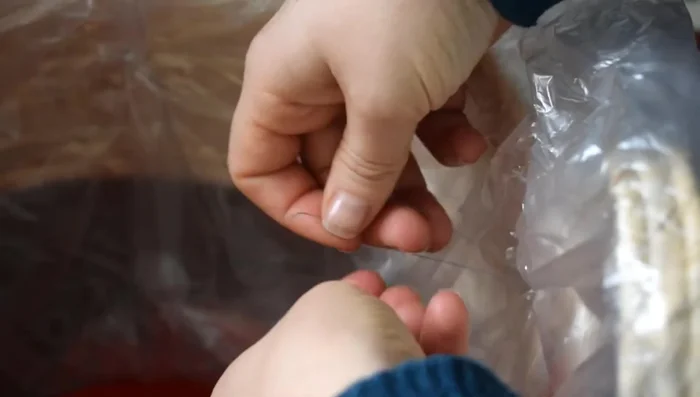
- Trim the thread, leaving about 10cm, and tie a knot. Repeat around the basket 6-7 times.
Sew the Liner to the Basket Trim and Finish
- Lift up the top of the liner, creating a point, and cut down just above the ties.
- Trim away excess liner. Flatten down any remaining bits.
Trim and Finish


Read more: DIY Flower Basket Liners: Budget-Friendly & Moisture-Retentive
Tips
- Don't be put off by sewing; even beginners can do this.
- Needle and thread causes less damage to the basket than other methods and is easily removable if needed.
- Leave a longer thread tail (10cm) for easier knot tying.
- If the thread goes straight through, make a bigger knot.
- Add a plant saucer at the bottom of the pot for extra protection.