Spring has sprung, and with it comes the irresistible urge to refresh our homes and gardens. But who says achieving a stunning springtime look requires breaking the bank? Dollar Tree offers a surprising treasure trove of affordable crafting supplies, perfect for unleashing your inner DIY enthusiast. Forget expensive planters and store-bought décor; this spring, we're transforming humble Dollar Tree finds into breathtaking masterpieces. Think vibrant, personalized planters that add a touch of elegance without the hefty price tag. From rustic charm to modern minimalism, the possibilities are endless.
This article showcases five stunning DIY planter projects, all achievable with materials sourced entirely from your local Dollar Tree. We'll guide you through each project step-by-step, transforming ordinary planters into unique and eye-catching additions to your home. Get ready to be amazed at how easily you can create beautiful, budget-friendly spring décor that will leave your friends and family green with envy!
Preparation and Safety Guidelines
- Dollar Tree planters (various sizes and styles)
- Square and round wood pieces
- Heavy-duty adhesive
- Hot glue gun
- Spray paint (oil-rubbed bronze)
- River rocks
- Boxwood or plants
- Smaller planter
- Candle
- Metal bucket
- Burner cover
- Jute rope
- Plaster-colored chalk paint
- Pizza pan
- Rub ‘n Buff (antique gold)
- Nautical rope
- Wood burning tool
- Coffee mug
- Wood shelves
- Spackle
- Scraper
- Sandpaper
- Burnt umber acrylic paint
- Polycrylic sealant
- Wood glue
- Painter's tape
- Staple gun
- Styrofoam
- Moss
- Tulips (optional)
- Terracotta pot
- Small saucer
- Dollar Tree vase
- Votive candle
- Plunger handles
- Goo Gone
- Handsaw
- Miter box
- Gel super glue
- Masking tape
- Always ensure planters have adequate drainage holes to prevent root rot. If your Dollar Tree planter doesn't have them, create some using a drill or hot glue gun (with caution).
- Use caution when working with sharp objects like drills or scissors. Adult supervision is recommended, especially when children are involved.
- Before planting, check that your chosen Dollar Tree planters are made of a material suitable for plant life and won't leach harmful chemicals into the soil.
Step-by-Step Instructions
Urn Planter
- Create a beautiful urn-style planter using a medium and small Dollar Tree planter, square and round wood pieces, and heavy-duty adhesive.
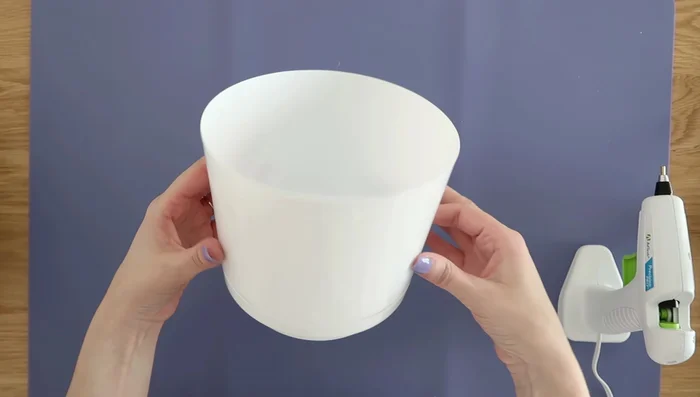
Lantern
- Make a simple lantern using a small Dollar Tree planter and a hot glue gun to melt holes for candlelight.

Lantern Raised Tray
- Construct a raised tray using a metal bucket, burner cover, jute rope, and plaster-colored chalk paint.
Raised Tray Side Table
- Build a modern side table by combining a Dollar Tree planter with a pizza pan, spray paint, and nautical rope.
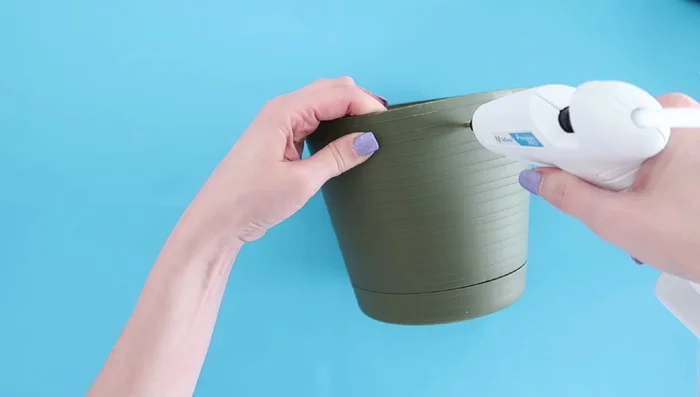
Hanging Planters
- Create hanging planters by burning holes in Dollar Tree planters, adding jute cords, and decorating.
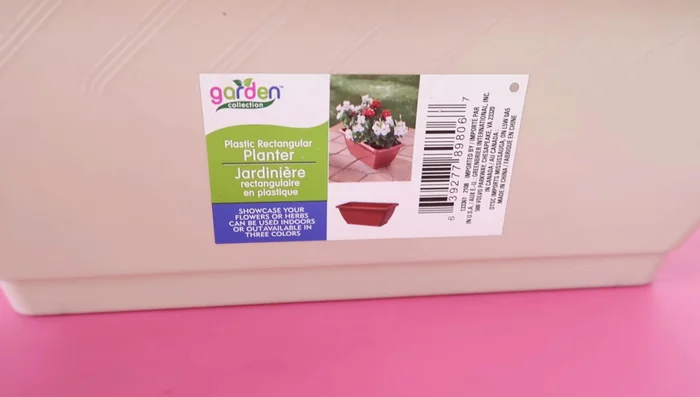
Hanging Planters Fancy Planter Box
- Make a fancy planter by cutting the lip off a Dollar Tree rectangle planter, constructing a box from wood shelves, and adding styrofoam, moss, and flowers.
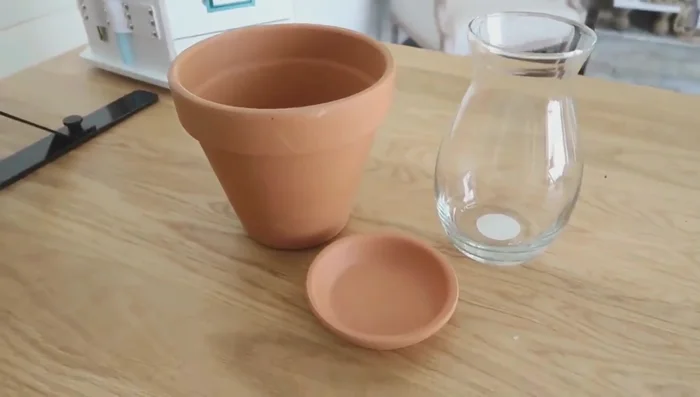
Fancy Planter Box Terracotta Lantern
- Construct a terracotta pot lantern by adding stuffing, a small saucer, a Dollar Tree vase, river rocks and a votive candle.
Terracotta Lantern Plant Stand
- Create a plant stand using plunger handles, a Dollar Tree planter, gel super glue, and hot glue.
Plant Stand

Read more: Choosing the Right Saucer Size for Your Monster Plant Pots
Tips
- Use construction-grade adhesive for outdoor projects to ensure durability.
- Add weight inside the urn planter to help it set properly during curing.
- Use a fine-tipped hot glue gun for detailed work and melting holes in plastic.
- Use primer spray paint for a matte, chalk paint-like finish at a lower cost.
- Use Rub ‘n Buff to change the color of metal objects inexpensively.