Maintaining a thriving garden often involves meticulous record-keeping, and a key element of this is clear, durable plant labeling. Faded or lost labels lead to confusion and potentially lost plants, making the initial effort of labeling all the more crucial. Using readily available materials and a bit of savvy, you can create plant markers that withstand the elements and provide lasting identification for your garden's inhabitants. Forget those flimsy, sun-bleached paper tags – we'll show you how to utilize the power and precision of a Brother P-touch label maker to produce robust, long-lasting plant labels using durable plastic materials.
This guide will walk you through creating personalized, weatherproof plant labels that will elegantly and effectively identify your plants for years to come. From choosing the right label material to designing the perfect label, we'll cover every step of the process, ensuring your garden remains beautifully and accurately organized. Ready to create labels that will outlast the seasons? Let's dive into the step-by-step instructions.
Preparation and Safety Guidelines
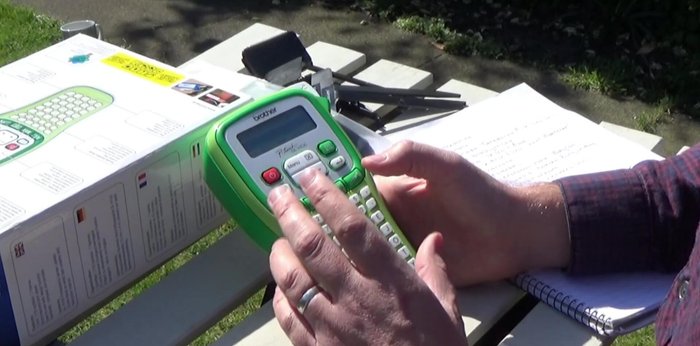
- Brother P-Touch GL h105
- 12 millimeter white on black tape
- 16 centimeter angle head plastic labels (from Labels and Things)
- Always unplug the Brother P-Touch label maker before changing tapes or performing any maintenance.
- Avoid contact with the hot printhead during and immediately after use; allow sufficient cooling time.
- Use only Brother-approved tapes with your P-Touch label maker to prevent damage to the machine and ensure optimal print quality. Using incorrect tapes may void your warranty.
Step-by-Step Instructions
Prepare Materials
- Prepare your Brother P-Touch machine and 12mm white-on-black tape.
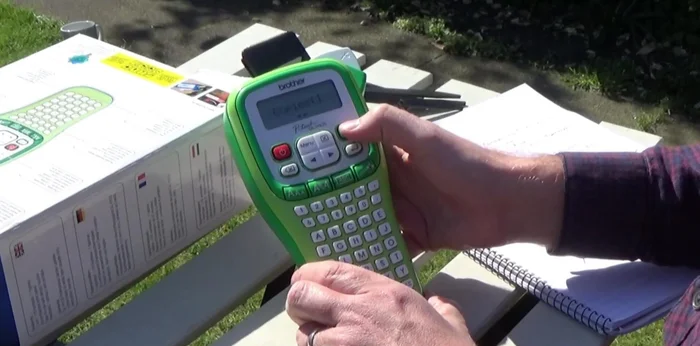
Type and Print Label
- Type your plant name (genus and species in italics, variety in normal case) using the P-Touch machine's features. Use the 'A' button to toggle between uppercase and lowercase. Use the symbol button to add apostrophes or other symbols.
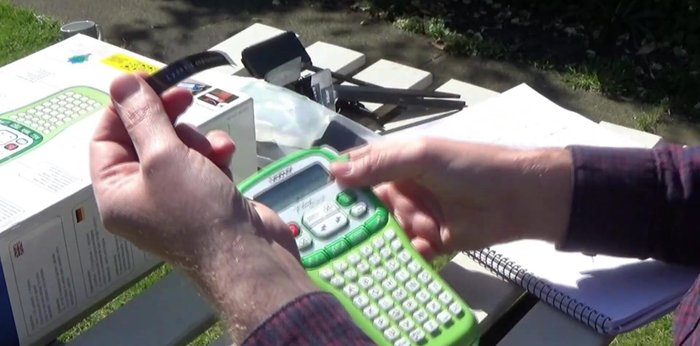
- Print the label using the green button. Use the cutter to neatly separate the label.

Type and Print Label Trim and Adjust Label
- If necessary, trim the label to fit within the plastic label using scissors.
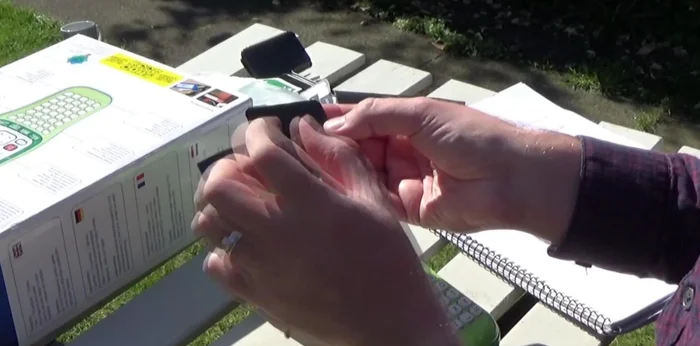
Trim and Adjust Label Attach Label to Plastic
- Peel the backing from the printed tape and stick it onto your 16cm angle head plastic label.
Attach Label to Plastic Insert Label into Soil
- Insert the label into the soil at an angle for optimal visibility.
Read more: DIY Clay Plant Markers: A Relaxing & Rewarding Craft
Tips
- Ensure you purchase the correct 12mm white-on-black tape for your Brother P-Touch machine.
- These labels work well because the angled design makes them easily visible.
- These labels are best suited for one to three lines of text.
- For plant names, use italics for genus and species, and normal case for the variety name.
- Refer to your Brother P-Touch machine's instruction manual for more advanced features and functionalities.