The taste of a sun-ripened, homegrown tomato is an unparalleled culinary experience. Forget battling unpredictable weather, soil diseases, and space limitations – the secret to juicy, flavourful tomatoes right on your doorstep lies in the humble grow bag. These versatile containers offer a simple and efficient solution for cultivating a bountiful tomato harvest, even if you lack a sprawling garden or have challenging soil conditions. Grow bags provide excellent drainage, ensuring your plants receive the perfect balance of moisture and airflow for optimal growth. They’re lightweight, easily movable, and perfect for balconies, patios, or even sunny windowsills.
Imagine biting into a plump, sweet tomato knowing you nurtured it from seed to fruit. This guide will walk you through the process step-by-step, from choosing the right grow bag and selecting your tomato variety to harvesting your delicious reward. Let's delve into the simple yet rewarding world of growing juicy tomatoes in grow bags, unlocking the easiest path to homegrown goodness.
Preparation and Safety Guidelines
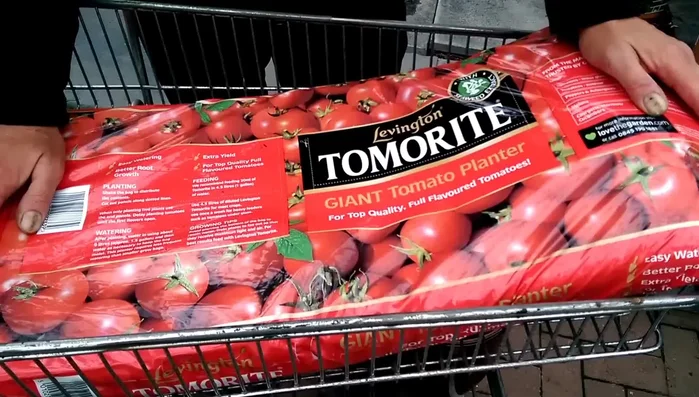
- Grow bag
- Tomato plants
- Knife or other sharp object
- Drainage material
- Cane for support
- Tomorite or other tomato feed (optional)
- Wooden plinth or other support for grow bag
- Avoid overwatering: Soggy soil leads to root rot. Water only when the top inch of soil feels dry.
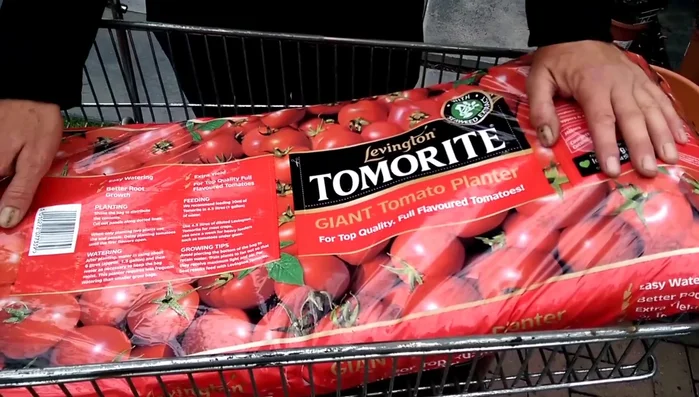
- Choose the right grow bag: Ensure it has adequate drainage holes to prevent waterlogging. A good quality grow bag will also provide sufficient aeration for the roots.
- Provide support: Tomato plants, especially larger varieties, need support to prevent the stems from breaking under the weight of the fruits. Use stakes or cages.
Step-by-Step Instructions
Prepare the Grow Bag
- Place the grow bag on a level surface. Puncture holes in the bottom for drainage. (Ensure drainage is sufficient).

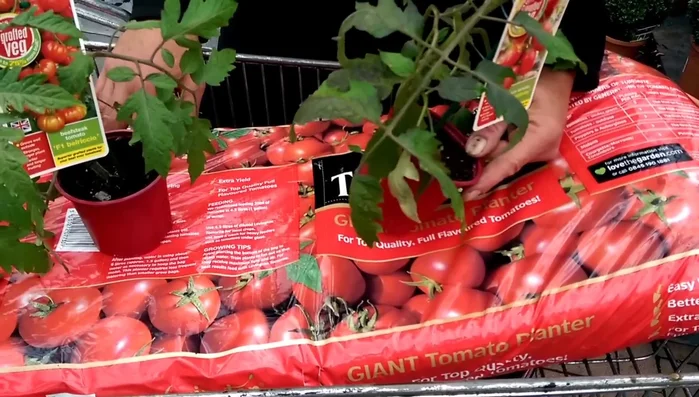
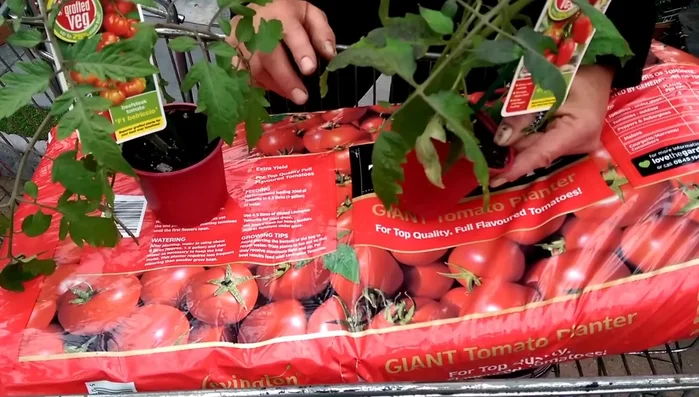
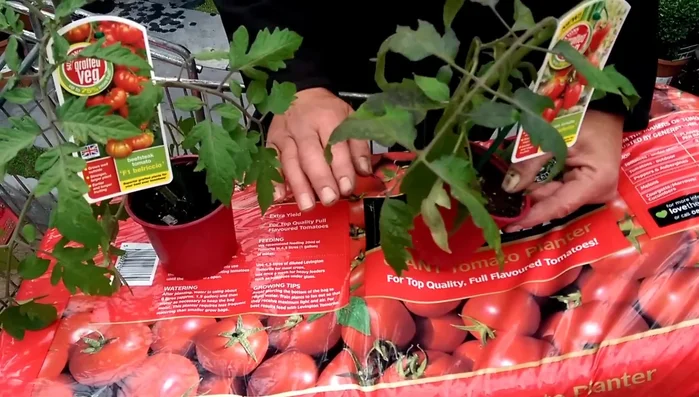
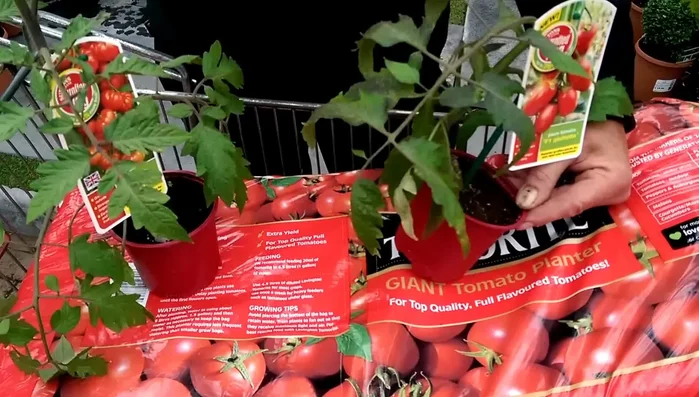
Prepare the Grow Bag Plant the Tomatoes
- Cut out the pre-marked squares on the grow bag. Plant the tomato seedlings at the same depth as the soil level, compressing the soil slightly if necessary. Plant three tomato plants, one in each square.
Plant the Tomatoes Provide Support
- If necessary, raise the grow bag on a wooden plinth or other support to facilitate inserting a cane. Insert canes and secure them at the base to support the growing tomato plants.
Provide Support Water the Plants
- Water the newly planted tomatoes thoroughly, even if it’s a wet day.
Water the Plants Feed the Plants
- After a couple of weeks, begin feeding your tomato plants. Use a tomato-specific fertilizer like Tomorite or a slow-release granular feed. This will provide consistent nutrients without frequent applications.
Feed the Plants Pinch Out Excess Flowers
- If the plant produces too many flowers, pinch out some to encourage larger, healthier tomatoes.
Pinch Out Excess Flowers
Read more: Grow Bountiful Potatoes in Containers: A Step-by-Step Guide
Tips
- Using a level surface is crucial for even growth.
- Ensure adequate drainage to prevent root rot.
- Growing tomatoes from seed is an option, but using pre-grown seedlings allows for quicker results.
- Grow bags are convenient but may need supplemental support for plants.