Maximize your plant's potential and watch your harvests flourish with the right support system! A well-installed plant support saucer can be the difference between a struggling plant and a bountiful yield, especially for heavier fruiting varieties or those prone to sprawling. Investing a few minutes in proper installation can prevent damage from heavy fruits, improve air circulation preventing disease, and ultimately lead to a healthier, more productive plant. Neglecting this crucial step can result in lost yields and disappointed gardeners.
This comprehensive guide provides a step-by-step process for flawlessly installing your plant support saucer, ensuring your plants receive the optimal support they need throughout their growing cycle. Let's get started and unlock the secret to a truly impressive harvest!
Preparation and Safety Guidelines
- Perfect Plant Support Kit
- E8 inch Allen Wrench
- Always ensure the saucer is properly sized for your plant pot to prevent tipping or instability. A saucer that's too small or too large can compromise plant support.
- Before installation, inspect the saucer for any cracks or damage. Using a damaged saucer could lead to water leakage and potential harm to your plant or surrounding areas.
- Avoid overwatering. While the saucer helps retain moisture, excess water can lead to root rot. Make sure there are drainage holes in your plant pot and don't leave the plant sitting in standing water for extended periods.
Step-by-Step Instructions
Unpacking and Preparation
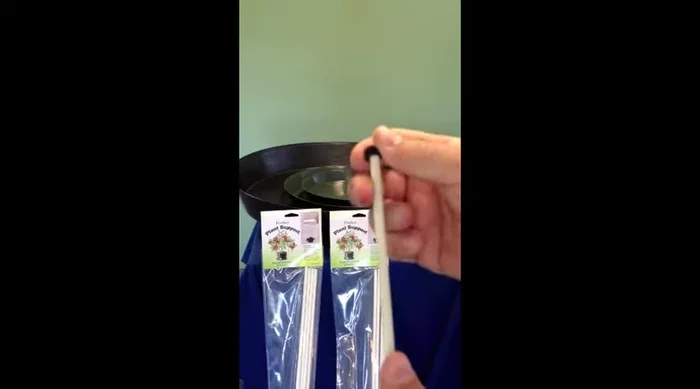
- Unpack the Perfect Plant Support kit. Identify the trellis support rods, all-in-one supports, and the hardware kit.
- Slide two O-rings onto the top of each of the four trellis support rods.
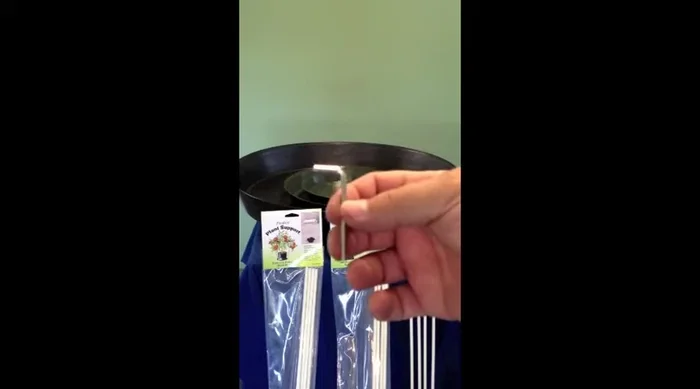
- Use the E8 inch Allen wrench to attach the set screws to the all-in-one supports.

Unpacking and Preparation Attaching Supports to Saucer
- Slide the all-in-one supports (using the slots) around the outside of your chosen saucer. Tighten securely with the Allen wrench, but avoid over-tightening.
Attaching Supports to Saucer Installing Trellis System
- Insert the trellis support rods into the all-in-one supports.
- Measure and cut the trellis netting to fit your plant. Attach it to the trellis support rods by hooking it between the O-rings. Adjust as needed for size and height.
Installing Trellis System


Read more: Choosing the Right Saucer Size for Your Monster Plant Pots
Tips
- For optimal results, prune and trim your plants about 10 days after seeing blooming sites before installing the trellis support.
- Ensure that every branch is supported by the trellis netting for maximum yield.